Introduction
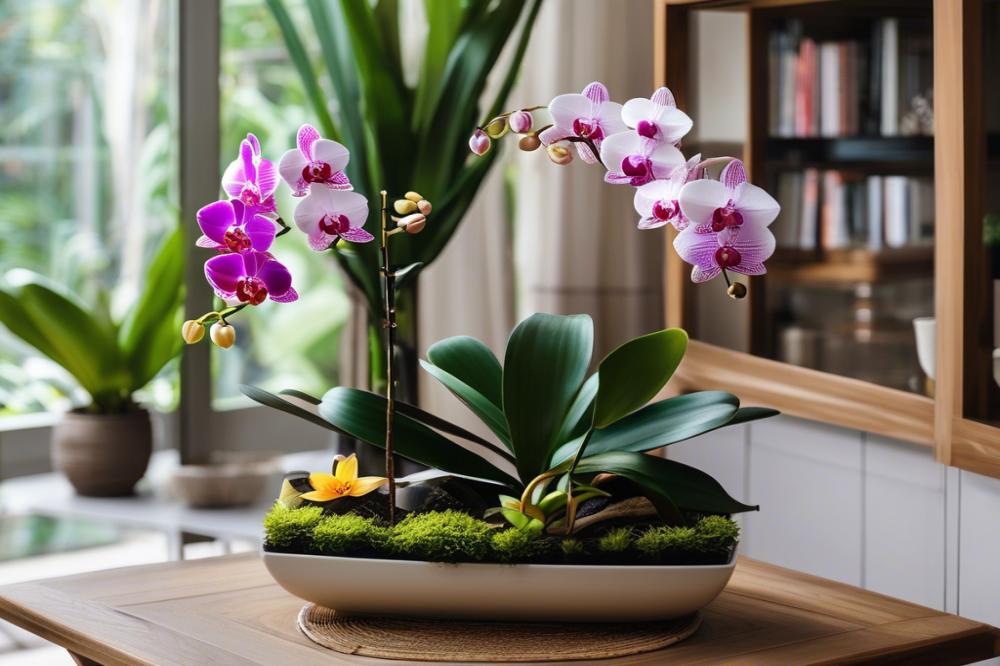
Orchids hold a special place in the world of indoor gardening. These plants bring beauty and elegance into homes, with their stunning blooms and glossy leaves. Many enthusiasts are drawn to their variety and the joy they can bring. This appeal goes beyond mere looks; it’s about the satisfaction that comes from nurturing a living thing.
Caring for Orchids, however, requires a bit of knowledge and attention. They often have specific needs that can seem daunting to beginners. Understanding proper potting orchids, watering orchids, and their unique light requirements is essential for success. A little effort can lead to a thriving plant that rewards you with vibrant flowers.
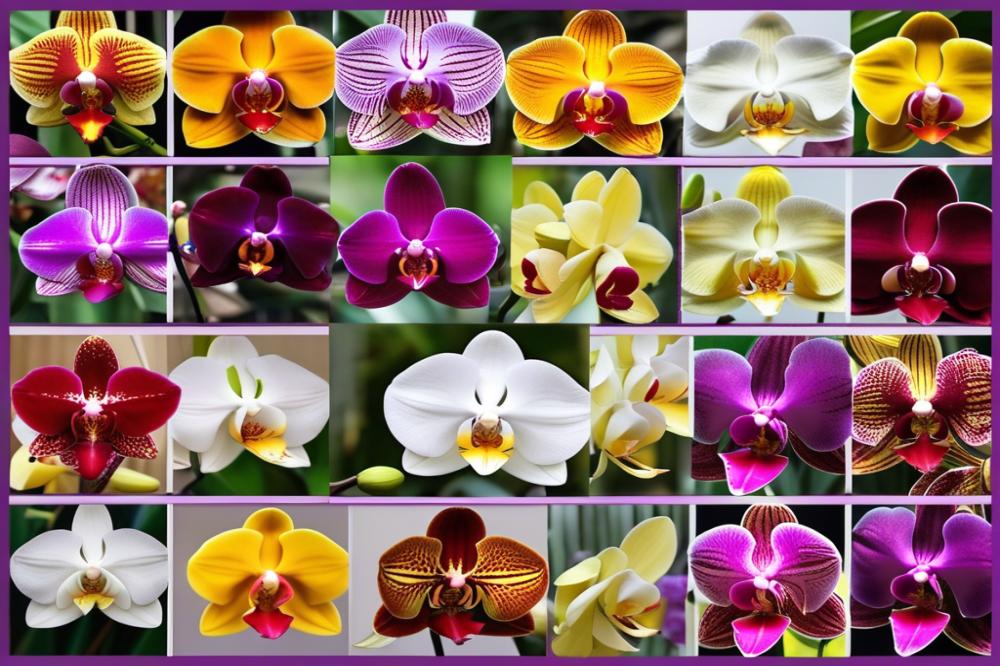
The world of orchids is vast, with numerous types available for growing indoors. Phalaenopsis, Cattleyas, and Dendrobiums are just a few examples. Each type comes with its own characteristics and care guidelines. By learning about their individual needs, indoor gardeners can create optimal growing conditions.
In the following sections, we will explore the specialized requirements of these fascinating plants. Topics will include humidity for orchids, fertilization practices, and common pests that may invade. A solid understanding of these areas will greatly enhance your experience with Indoor Orchids.
Caring for Orchids


Indoor Orchids require specific care that can vary from other houseplants. General principles include proper watering, suitable lighting, and the right humidity levels. orchid care is not merely about plants; it’s also about understanding their needs. You can’t just assume all orchids are the same. Different orchid types have different preferences regarding their environment.
Understanding Specific Orchid Needs
Light requirements for orchids play a critical role in their growth. Some orchids thrive in bright, indirect sunlight, while others prefer shadier spots. Meanwhile, humidity for orchids should ideally fall between 40-70 percent. This level is usually higher than other common houseplants, so try using a humidity tray or misting the leaves. Remember, overwatering is a frequent mistake. Always check the roots and soil moisture before deciding to water orchids again.
Benefits of Proper orchid care
Focusing on proper orchid care leads to beautiful blooms and vibrant foliage. Healthy plants not only enhance your indoor space but also boost mental well-being. Through regular orchid fertilization, you encourage growth and flowering. Choose a balanced fertilizer designed for orchids for the best results.
Repotting orchids is an essential part of maintaining their health. Aim to repot every year or when the roots outgrow the pot. This action helps refresh the growing medium and reduces the risk of pests. Speaking of pests, be vigilant for common orchid pests like aphids or mealybugs, which can wreak havoc if left unchecked.
As you embark on indoor gardening with orchids, remember that patience is key. Enjoy the process of learning what your unique plants need. With attention and care, you will see your orchids thrive and flourish in your home.
Light Requirements for Orchids
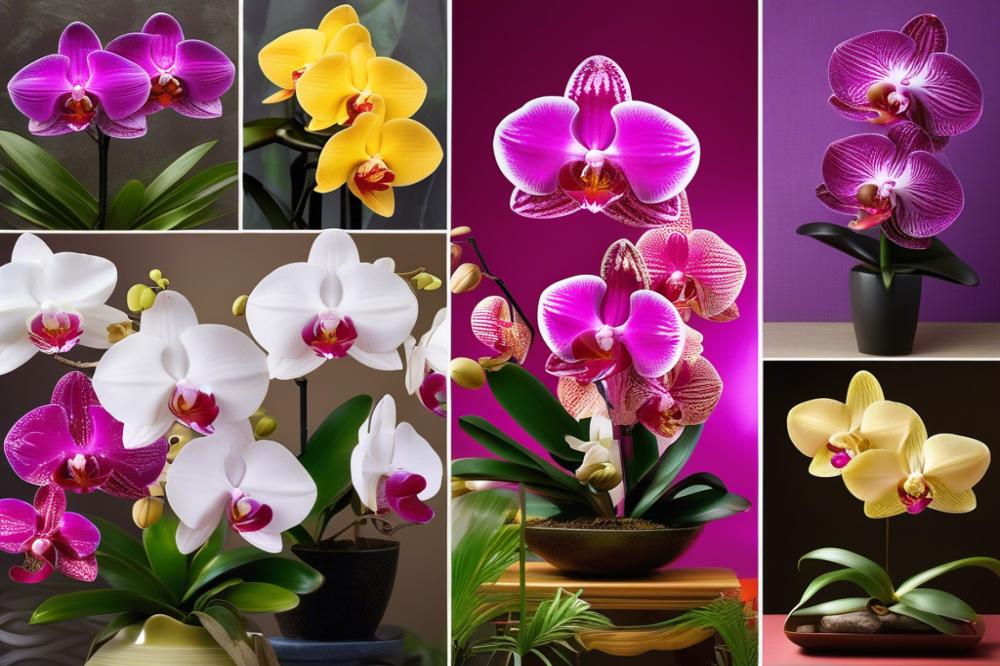

Orchids have different light needs depending on their types. Most common varieties, like Phalaenopsis, thrive in bright, indirect light, while some, like Cattleyas, prefer more direct exposure. Understanding your specific orchid type is crucial for effective care.
Best locations can make a difference too. Placing orchids near east or west-facing windows is often ideal. These spots typically provide a balance of light without overwhelming the plants. However, be cautious of south-facing windows, as they might introduce intense sunlight. This can lead to leaf burn.
Watch for signs of inadequate or excessive light. Leaves that are dark green and fall off may indicate low light. On the other hand, yellowing or browning leaves can suggest too much sun. If an orchid isn’t blooming as expected, insufficient light could be the reason. Regularly observing these indicators helps in maintaining healthy, vibrant plants.
Indoor gardening requires patience and knowledge. When potting orchids, remember that the medium plays a role in light absorption too. A transparent pot can help monitor their root health, allowing light to reach the roots. Watering orchids also impacts growth; improper light can lead to watering issues.
Regular orchid fertilization can contribute to overall health. Fertilizing during the growing season will encourage blooming and lush foliage. Keeping humidity for orchids at appropriate levels is equally important. Orchids need a balanced environment rather than extremes.
Repotting orchids should be done every couple of years. This gives roots fresh media and helps promote growth in bright areas. Checking pots and leaves for common orchid pests should be routine. Pests can affect how well your orchids respond to their environment too.
Watering Orchids

Ideal Watering Frequency and Methods
Watering orchids properly is crucial for their growth. Most species prefer to dry out between watering sessions. A general rule is to water once every one to two weeks. Factors such as season, type of orchid, and environment can impact this frequency. Misting the leaves can help increase humidity, but it shouldn’t replace proper watering. Using room temperature water is best. Make sure to water in the morning to avoid standing water at night.
How to Check Soil Moisture Levels
Observing the soil is key to maintaining healthy plants. Stick your finger about an inch into the potting medium. If it feels dry, it’s time to water. Another method is to lift the pot; a heavier pot usually indicates moist soil, while a lighter pot means it needs water. You might also consider a moisture meter to help gauge the moisture content more accurately. This tool can be handy, especially for beginners in indoor gardening.
Tips to Avoid Overwatering and Underwatering
Overwatering is a common mistake among orchid owners. Signs of this problem include yellowing leaves and root rot. Ensure your pots have proper drainage; nothing should be sitting in water. On the flip side, underwatering manifests as shriveled leaves and a lack of blooms. Pay attention to environmental changes, like increased light or heat, as these can affect water needs too. Adjust your watering schedule based on the seasons. Proper orchid care involves listening to your plants and tweaking their routine when necessary.
Humidity for Orchids
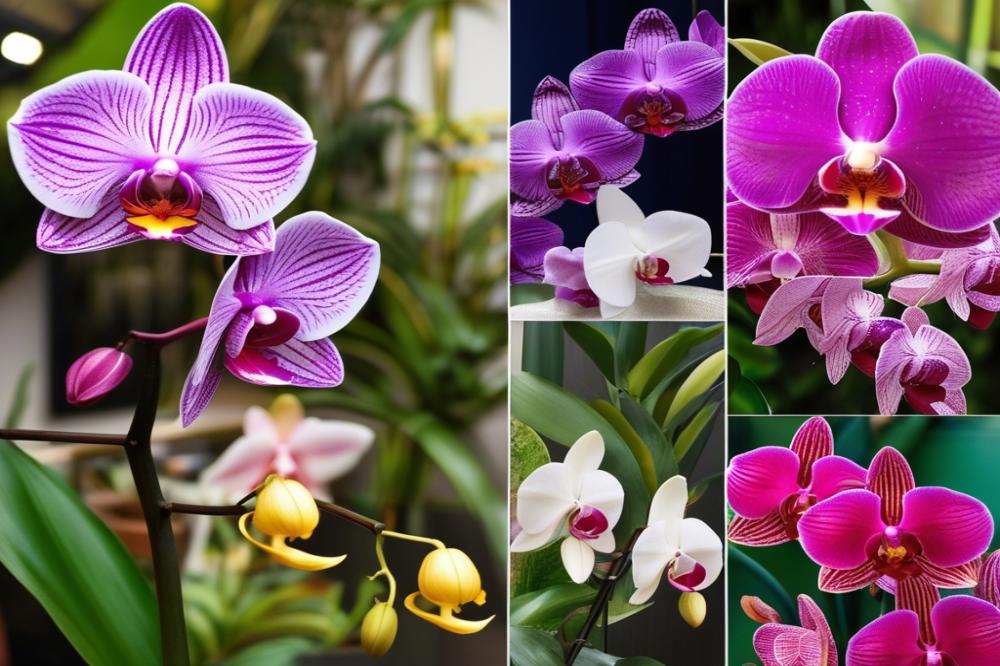

Humidity plays a crucial role in orchid care. These flowers thrive in environments with higher moisture levels. Most orchids originate from tropical regions, where humidity is abundant. When grown indoors, replicating this environment can be challenging but necessary.
Recommended Humidity Levels for Orchids
Experts recommend maintaining humidity levels between 40% and 70% for optimal growth. Many common orchid types, like Phalaenopsis and Cattleya, perform best in this range. Lower humidity can lead to various problems, such as leaf wrinkles or wilting. On the other hand, excessive moisture may invite common orchid pests that thrive in damp conditions.
Methods to Maintain Adequate Humidity Indoors
There are several ways to increase humidity around your orchids. One effective method involves using a humidity tray. This approach consists of placing water and pebbles in a shallow tray beneath the orchid pot. As the water evaporates, it raises humidity levels. Another simple tactic is misting the leaves with water, which can provide quick relief in dry conditions. Just be careful not to overdo it, as too much moisture on the leaves can lead to fungal issues.
Grouping multiple plants together is another handy trick. By placing orchids close to one another, they can help maintain a more humid microclimate. Additionally, running a humidifier can be beneficial, especially during winter months. Indoor gardening often becomes a struggle in dry air, and a humidifier can create a more suitable environment for potting orchids.
Pay attention to the humidity levels regularly, especially if the air tends to be dry in your space. Using a hygrometer can give you an accurate reading of the moisture in the air. Adjust your methods based on these readings to create the best conditions for your orchids.
Orchid Fertilization
When and How to Fertilize Orchids
Fertilization plays a critical role in orchid care. The best time to fertilize is during the growing season, ideally from spring through early fall. Monthly applications of fertilizer are often recommended during these months. When using plant food, dilute it to half the recommended strength for orchids. This minimizes the risk of burn on delicate roots. Always apply the fertilizer after watering orchids. This helps the roots absorb nutrients without causing stress.
Types of Fertilizers Suitable for Orchids
Orchids respond well to specific types of fertilizers. Look for options labeled as orchid fertilizers, which usually contain a balanced ratio of nitrogen, phosphorus, and potassium. Water-soluble formulas are popular among indoor gardeners due to their ease of use. Some gardeners also prefer controlled-release fertilizers that provide nutrients over an extended period. Organic options, such as fish emulsion or kelp extract, can support orchid growth as well. Always read the labels to find a product designed specifically for these plants.
Understanding Nutrients Required by Orchids
Orchids have particular nutrient needs. Nitrogen fosters leafy growth, while phosphorus promotes blooming. Potassium is essential for overall health and helps plants withstand stress. Magnesium and calcium are also vital but are often overlooked. Each nutrient plays a unique role in the plant’s development. Understanding these can help in proper fertilization. Keep in mind that older orchids may have different nutrient demands compared to younger ones. Tailoring the approach based on the orchid type can lead to better results in potting orchids and enhancing blooms. Monitor your plants closely to see how they react to different fertilizers. Adjustments might be necessary as seasons change.
Potting Orchids
Choosing the Right Pot and Medium for Orchids
Selecting a suitable pot is the first step in potting orchids. Many people prefer plastic or clay pots, but the choice often depends on the type of orchid being grown. Drainage holes are crucial, as they prevent water from sitting at the roots. The medium is equally important. Orchids do not thrive in regular soil. Instead, consider bark chips, sphagnum moss, or a commercial orchid mix. Each medium has its benefits depending on the orchid type. Air circulation around the roots is vital, so use a pot that allows this airflow.
Steps to Potting Orchids Effectively
Begin by preparing your workspace. Gather all necessary tools, including your pot, medium, and scissors. Start by gently removing the orchid from its old pot. Examine the roots for any signs of decay or pests. Trim away unhealthy roots delicately. Next, place the orchid into the new pot. Add your chosen medium around the roots, ensuring the orchid sits at the correct height. Press down gently to eliminate air pockets. It’s essential that the roots are well-supported and that they have enough space to breathe. Watering orchids should be done lightly immediately after potting to settle the medium.
Importance of Proper Drainage and Airflow
Adequate drainage and airflow are crucial for healthy orchid growth. Stagnant water can lead to root rot, which is detrimental to your plant’s health. Air movement around the roots helps keep them dry but also provides essential oxygen. Remember, orchids in pots without proper drainage will likely suffer. Regular monitoring of potting conditions is vital, particularly in indoor gardening settings. Ensure that humidity for orchids is balanced while maintaining good drainage within the pot. This balance is key to orchid success. By caring for your orchids thoughtfully, you set the stage for beautiful blooms and vibrant growth.
Repotting Orchids
When and Why to Repot Orchids
growing orchids can be rewarding, but the time comes when repotting is necessary. Generally, orchids need to be repotted every one to two years. This process helps refresh their environment and encourages healthy growth. Roots may outgrow the pot, or the potting media might break down over time. Neglecting to repot can lead to poor orchid care, affecting the plant’s vitality.
Signs That Indicate a Need for Repotting
Several signs will prompt you to repot orchids. One common indicator is root overcrowding. If you notice roots growing out of the pot or tightly coiling, it’s time for a change. Yellow or wilted leaves may also signal trouble. A soft potting medium or one that has decomposed can lead to root rot, making repotting essential. Lastly, if the plant is no longer blooming as it used to, you may need to examine its growing conditions.
Step-by-Step Guide to Repotting Orchids
Repotting orchids involves several careful steps. Start by choosing a new pot and fresh potting mix. Select a mixture that suits your orchid type, like bark or moss. Prepare by watering the plant a day before. This makes removal easier.
Gently remove the plant from its current pot. Be cautious not to damage the roots. Next, inspect the roots. Cut away any that are brown or mushy, as these indicate decay. Rinse the healthy roots under lukewarm water to eliminate old potting medium.
Once cleaned, place the orchid in the new pot. Add potting mix around the roots. Shake the pot lightly to settle the medium. Watering orchids right after repotting isn’t recommended. Allow the plant to adjust for a week before resuming regular watering habits. During this time, monitor its light requirements and maintain proper humidity levels. An attentive eye will help your orchid thrive.
With these basics covered, you’re ready to tackle the exciting process of potting orchids. Remember, every plant is unique, and adjusting your approach is part of successful indoor gardening.
Common Orchid Pests
Indoor orchids can attract various pests, and identifying these nuisances is the first step in keeping your plants healthy. Common pests include aphids, spider mites, mealybugs, and scale insects. Each type can cause damage in different ways, so knowing what to look for is essential for proper orchid care.
Aphids are small, often green or black, soft-bodied insects. They can be found clustered on new growth and flower buds. Spider mites, on the other hand, are harder to see. They create fine webs and cause leaf discoloration. Mealybugs appear as white, cotton-like masses, often hiding in leaf joints. Scale insects look like small bumps on the stems and leaves.
Preventive Measures and Treatment Options
Preventing pest infestations starts with your indoor gardening setup. Keeping plants clean is crucial; wipe leaves regularly with a damp cloth. Many pests thrive in environments with high humidity, so managing humidity levels for orchids can help discourage them. Also, monitor water quality while potting orchids to avoid introducing pests or diseases.
When dealing with an infestation, treatment options vary. Insecticidal soap is effective against soft-bodied insects like aphids and mealybugs. For spider mites, treating with neem oil can work well. Make sure to follow directions carefully, as overuse of chemicals can harm plants. Isolation of affected plants can also prevent the spread of pests.
Importance of Regular Inspections
Frequent inspections are key. Taking time to look at your orchids can help catch issues early. Check the undersides of leaves and around the base of the plant. Regular monitoring of your orchids can minimize the risk of significant damage. Prompt action often limits pest populations, making it easier to manage problems.
By remaining vigilant and applying correct practices, you can maintain a thriving indoor orchid collection. This approach keeps pests at bay and nurtures your plants toward robust health.
Final Thoughts on Nurturing Orchids Indoors
Recapping essential orchid care practices will help any indoor gardener achieve stunning results. Remember to keep an eye on watering schedules. Overwatering can drown your plants while underwatering may leave them parched. Light conditions should also be considered; bright, indirect sunlight is often ideal. Potting orchids in the right medium can promote healthy growth and keep the roots happy. Don’t forget to feed them with a balanced fertilizer during the growing season to encourage blooms.
Indoor gardening enthusiasts can find joy in this nurturing process. Orchids offer magnificent beauty that can transform any space. As you gain experience, you will learn what works best for your plants. Experimentation is part of the delightful journey. Observe your orchids closely and tailor your approach based on their needs. Success in maintaining these plants can be truly rewarding.
In closing, nurturing orchids is not just about meeting their needs. It’s about creating an environment where they can thrive and beautify your home. Patience and observation will pay off. Share your experiences with other gardening enthusiasts. Ultimately, the beauty these plants bring to your living space is unparalleled. Happy gardening!

