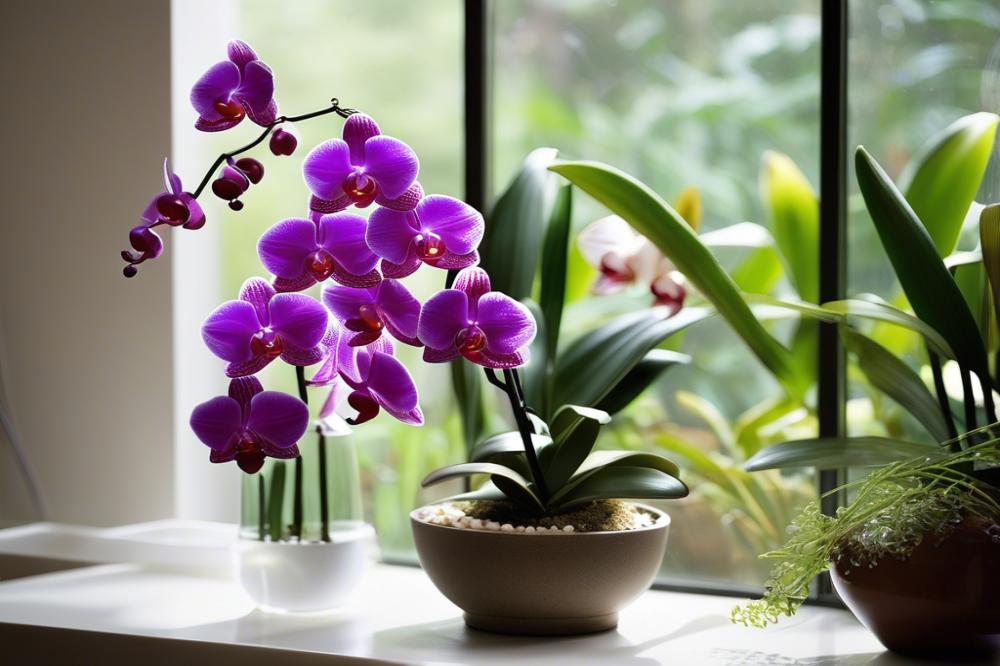
Creating the Perfect Growing Environment for Orchids
Taking care of orchids is a rewarding activity that can bring a touch of beauty to any home. These stunning plants may seem delicate, but with the right conditions, they thrive and bloom brilliantly. Understanding how to create the ideal habitat for orchids is essential for anyone looking to keep these botanical wonders healthy and vibrant.
Several key factors contribute to the perfect growing environment. humidity plays a crucial role. Orchids generally prefer a humid atmosphere, making it essential to find the right balance. temperature is another important element that influences growth. Each type of orchid has specific ranges it prefers, so it’s important to learn about the needs of your particular plant.
Lighting can make or break your success with orchids. Bright, indirect light is often ideal, yet too much direct sun can scorch leaves. Soil choice also matters; orchids do best in a well-draining potting medium, which promotes healthy roots. When it comes to watering, moderation is key. Overwatering can be just as harmful as underwatering.
Fertilization should also be considered, especially during the growing season. Regular, balanced feeding helps support vibrant growth. Air circulation is a factor that often goes overlooked but is vital for preventing disease and keeping plants strong. Knowing your specific orchid types will allow you to tailor these growing conditions effectively.
Finally, repotting is a practice that should not be ignored. As orchids grow, they may need new space and fresh media to remain healthy. Proper planning and care will ultimately lead to flourishing, beautiful blooms. The journey of orchid care not only teaches patience but also provides immense joy.
Understanding Orchid Types

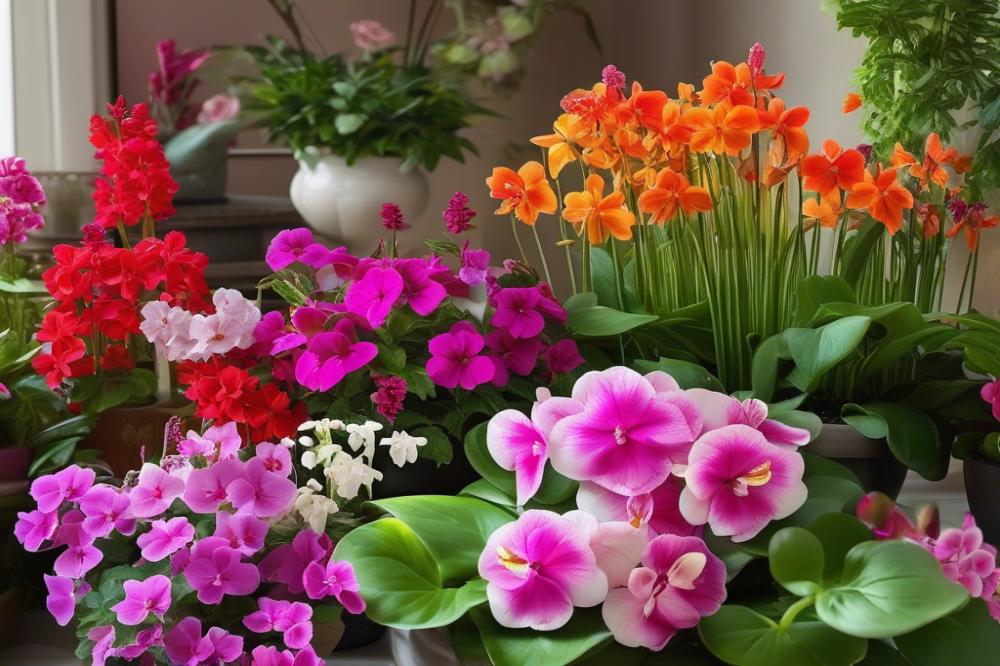
Orchids come in many varieties, each with its own charm and beauty. Some of the most common orchid types include Phalaenopsis, Cattleya, Oncidium, and Dendrobium. Each type has different care needs, so knowing what you have is essential for success.
Overview of Different Orchid Types
Phalaenopsis, often called the moth orchid, is popular for beginners. Their flat, broad flowers can last for months with proper care. Cattleyas, known for vibrant blooms, often need more sunlight. Oncidiums, with their smaller but numerous blooms, require good air circulation. Lastly, Dendrobiums thrive in varied conditions but can be finicky.
Specific Care Requirements
Phalaenopsis enjoys humidity levels between 50-70%. Bright, indirect light is ideal, and temperatures should remain between 65-80°F. Watering once a week is usually sufficient, allowing the potting medium to dry out slightly. Fertilization should occur during the growing season, but avoid overdoing it.
Cattleyas prefer a bit more light, aiming for a bright spot with some direct sun. Their soil needs to drain well to prevent root rot, requiring a watering routine that allows the roots to dry out completely between sessions. Regular fertilization during growth promotes vibrant blooms.
Oncidiums benefit from warm temperatures and should be kept in a humid environment. They prefer bright, indirect lighting. Watering should be frequent but light. Regular checks on air circulation can help prevent fungal issues. Whenever necessary, repotting should happen every couple of years to refresh the medium.
Dendrobiums can be trickier. They like warm nights and cooler days, showing their best blooms when temperatures vary a little. Soil needs to be well-aerated, possibly using bark or sphagnum moss. Watering should become less frequent when they’re not in bloom. They also respond well to occasional fertilization during active growth.
Understanding these various orchid types and their specific care requirements can greatly enhance your experience as an orchid enthusiast. Each plant has a personality that contributes to your home’s beauty.
Humidity Requirements for Orchids
Ideal Humidity Levels
Creating the right humidity is vital for growing healthy orchids. Most orchid types thrive in levels between 40% and 70%. High humidity promotes thriving roots and vibrant flowers. Low humidity can lead to stress, causing leaves to shrivel or blooms to fall prematurely. Keep in mind the specific needs for different varieties. For example, tropical orchids generally prefer higher humidity levels than those from cooler climates. Regularly monitor your environment with a hygrometer to keep track of moisture.
Methods to Maintain Humidity in the Growing Environment
A variety of methods exist to maintain proper humidity. Misting the leaves can provide quick relief, but it should not be the only method. Consider placing your orchids on a tray of pebbles with water. This setup allows evaporating water to rise and create a humid atmosphere. Another option is using humidifiers, which can regulate moisture levels consistently. Air circulation is also essential; stagnant air can lead to mold or disease.
Grouping plants together can naturally increase humidity in their vicinity. As water evaporates from the leaves, the moisture fills the air around them. Repotting orchids into breathable pots and using proper soil mix enhances the ability to manage moisture levels effectively. Remember that temperature affects humidity, too. Warmer environments can hold more moisture, so keep this in mind when deciding on potting locations.
Maintaining balanced humidity levels will encourage vigorous growth and blooming. Consistently watering your orchids based on their individual needs helps maintain moisture balance. Additionally, periodic fertilization when the humidity is optimal can boost growth further. With some attention and care, creating a growing environment with the right humidity becomes an achievable goal.
Temperature Control for Orchids
Orchids thrive under specific temperature conditions. Most orchid types prefer a daytime range of 70 to 85 degrees Fahrenheit. At night, they benefit from cooler temperatures, ideally between 60 to 70 degrees. These fluctuations mimic the natural environment of many orchids, which helps them blossom beautifully.
Monitoring temperature is crucial. You can use digital thermometers placed near your orchids to keep track of conditions. A consistent temperature is key, but variations should be made based on seasonal changes. During summer, it might be necessary to provide shade or adjust air circulation to prevent overheating. Winter can require extra heating, but avoid placing plants near cold drafts or heat sources that may dry out the air.
Humidity plays a role in how well orchids respond to temperature. Most orchids like humidity levels around 40% to 70%. You can increase humidity by using pebble trays filled with water or employing humidifiers. Pairing the right temperature with increased humidity creates a cozy environment, making your orchids happy and healthy.
In addition to monitoring temperature, consider the light conditions. Too much direct sunlight can raise temperatures too high, while too little can hinder growth. Observing your plants helps you understand their light needs and how that interacts with the temperature. Adjusting exposure can enhance overall vitality.
Pay attention to your potting mix too. Well-draining soil helps roots breathe while retaining enough moisture. A proper mix supports maintaining the right temperature around the roots. Repotting every couple of years freshens up the medium and prevents the roots from overheating in old, compacted soil.
Temperature control is not just about warmth. It involves a balance with other factors like lighting, watering, and fertilization. Each element impacts how your orchids grow. Regular feeding during warmer months provides energy for growth. When temperatures drop, scaling back fertilization can prevent stress on the plants.
With all these elements in play, creating an ideal temperature environment is possible. Regular checks and small adjustments make a big difference. Keep observing, and your orchids will flourish, showcasing their stunning beauty.
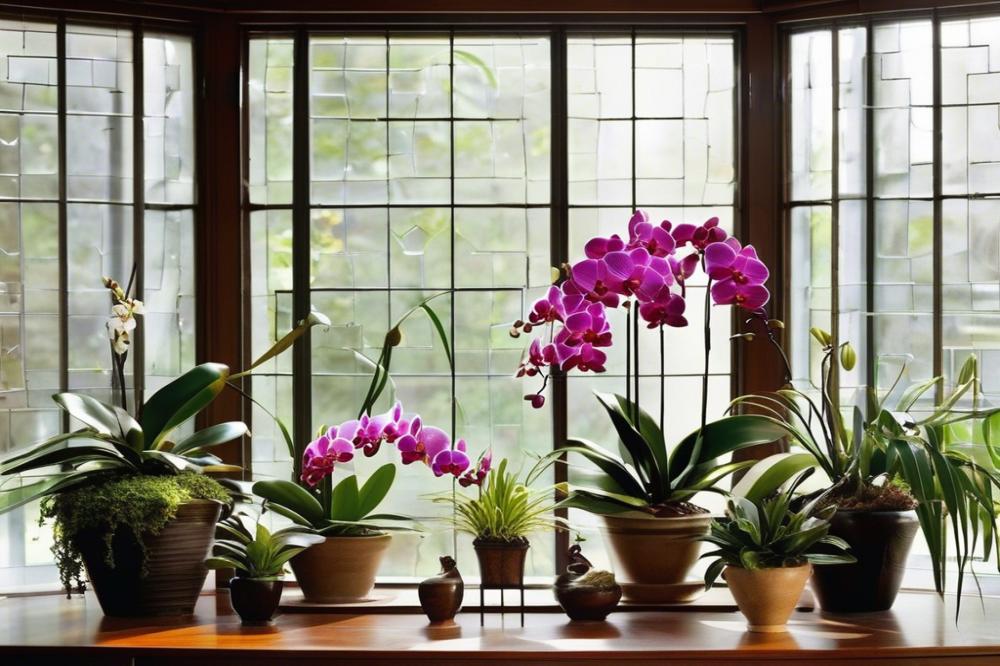
Lighting Needs for Orchids
Understanding light is crucial for healthy orchid growth. Light affects photosynthesis, which is vital for your plants. Without adequate lighting, these beautiful flowers can struggle to thrive. Some might say it’s the most important factor in orchid care.
Types of Lighting
Both natural and artificial lighting play significant roles in growing orchids. Natural sunlight is often preferred. It provides the full spectrum that orchids love. However, direct sunlight can scorch some varieties. An east-facing window is usually ideal, as it offers gentle morning light.
On the other hand, artificial lighting serves well, especially in dimmer seasons. Grow lights, like LEDs or fluorescent bulbs, can replicate sunlight. They emit less heat, which helps maintain stable humidity and temperature. Orchids generally require around 12 to 14 hours of light daily to flourish.
Positioning for Optimal Exposure
Knowing where to place your orchids is key. Avoid locations that receive harsh midday sun. Instead, find a spot with indirect light. Closer to windows is often where it’s best. Check the specific needs of different orchid types, as they have varying preferences.
Consider using sheer curtains to filter out intense rays. Monitoring the light exposure will help you spot any signs of stress in your plants. Yellowing leaves can indicate too much light, while long, leggy growth suggests they aren’t getting enough. Air circulation is also important; good airflow helps prevent rot and fungal issues from excess humidity.
Sometimes, you may need to adjust your orchids’ positions throughout the year. Seasonal changes can affect available light. Keeping track of their growth can help gauge how much lighting each needs. Utilizing rotating stands can help with even exposure as well.
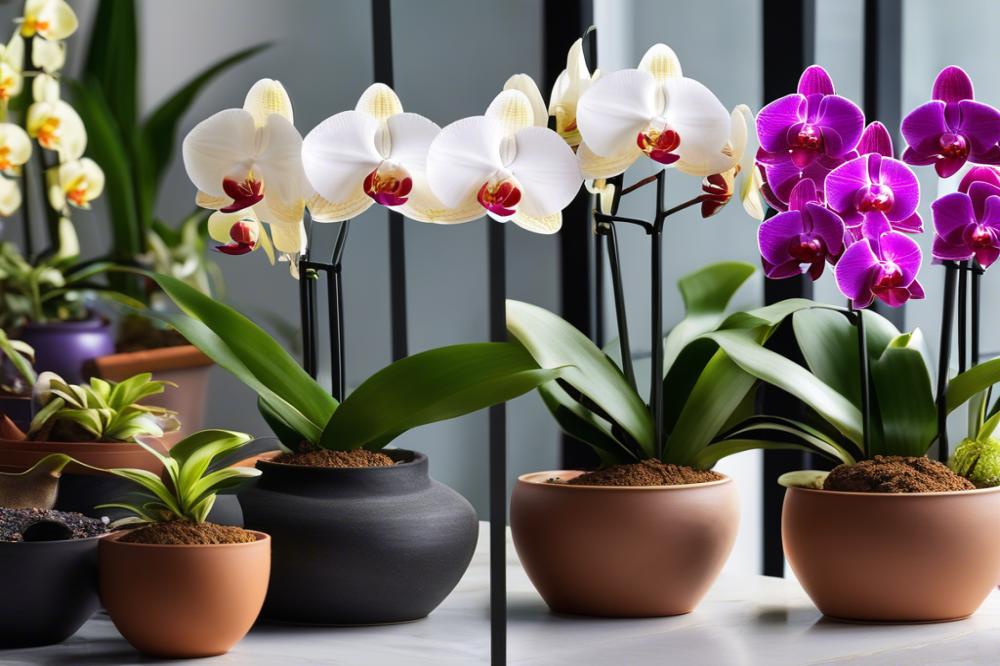
Selecting the Right Soil and Potting
Choosing well-draining soil is essential for growing happy orchids. These plants thrive in environments where excess moisture can escape. Overwatering can drown their roots and lead to rot. Therefore, the right soil mixture is crucial for success.
Recommended Potting Mediums
Different orchid types often prefer various potting mediums. A common choice is a mix of bark, perlite, and sphagnum moss. This blend provides air pockets for respiration while retaining some moisture. Coconut coir is another option, offering sustainability and excellent drainage. Remember, not all orchids are the same; some might enjoy other unique mixtures.
Potting Techniques
When potting your orchids, a few techniques can help you succeed. First, select a container that allows proper air circulation. Clay pots are often favorable compared to plastic ones. Their porous nature enables moisture to evaporate and keeps roots healthy.
Always ensure that your pot has drainage holes. This simple feature prevents water accumulation, which is detrimental to root health. When you repot, do so in the spring or after blooming. This timing gives your orchids a chance to adjust without stress.
Container Considerations
Size matters when it comes to potting. Choose a pot that is just a bit larger than the previous one. A pot that’s too big can hold extra moisture, which isn’t ideal. After potting, watering should be done carefully. Allow the soil to dry slightly before the next session. This attention to detail promotes healthy root development.
Lighting, humidity, and temperature also affect how orchids grow. Providing the right conditions will enhance growth. Lastly, consider regular fertilization practices. Use a diluted fertilizer during the growing season to support their needs, but remember to follow package instructions closely. Balance is key in orchid care.
Watering Orchids Effectively
Watering is a crucial part of caring for orchids. Understanding how to water them properly can make a big difference. Start by checking the potting medium. Most orchids prefer a well-drained mix that allows air circulation. This helps the roots breathe and avoids rot.
The best practice involves soaking the growing medium rather than just wetting the top. Use room-temperature water. This approach refreshes the plant without shocking it. It’s important to let excess water drain completely. Standing water can lead to problems.
Signs of overwatering are generally quite clear. Yellowing leaves are often a red flag. Another indication can be mushy roots. Conversely, underwatering manifests in different ways. Wilted leaves or a dry potting medium indicate it’s time to water.
Watering schedules can vary based on several factors. Temperature plays a key role. Warmer environments tend to dry out soil faster. Thus, they may need more frequent watering. Humidity levels also matter significantly. More humidity could allow for less frequent waterings.
Your type of orchid influences how often you should water, too. Cattleyas, for instance, prefer drier conditions, while Phalaenopsis orchids enjoy more moisture. Monitor the soil regularly for best results. Always adjust according to changing conditions.
Fertilization can also change how much water orchids need. When feeding, some fluids will be absorbed through the roots. If the potting medium is consistently dry, fertilizer will not help effectively. Repotting should be considered when growth slows or roots outgrow the pot. A fresh medium provides better moisture retention.
Good air circulation supports healthy growth as well. Stagnant air combined with moisture can create a perfect environment for pests or disease. Be mindful of how water interacts with airflow around your orchids.
Fertilization for Healthy Orchids
Fertilizing orchids is crucial for their growth and blooming. These plants are not like regular houseplants; they require specific nutrients to thrive. Healthy orchids will produce vibrant flowers and lush leaves, but this comes from proper care and nutrition.
Types of Fertilizers and When to Use Them
Many different types of fertilizers exist, tailored for orchid types. A balanced fertilizer, such as a 20-20-20 formula, works well for most varieties. These numbers indicate nitrogen, phosphorus, and potassium ratios. Use this type during the growing season, typically spring and summer.
Slow-release fertilizers can also be beneficial. They provide a steady supply of nutrients over an extended period. They are best applied during repotting or at the beginning of the growing season.
It’s essential to use special orchid formulas that contain essential micronutrients. These fertilizers often come in liquid form, making them easy to mix with water. Applying this mixture helps support the plant’s overall health.
Creating a Fertilization Schedule
A fertilization schedule is essential for maintaining your orchids’ health. Start by feeding your plants every two weeks during their active growth phase. This time usually coincides with increased light and warmth.
Reduce feeding to once a month during the fall and winter. During these cooler months, orchids typically enter a resting period and require fewer nutrients. Remember to monitor your orchid’s leaves. If you notice yellowing, it may be a sign of over-fertilization.
In addition to regular fertilization, observe other care aspects such as humidity and temperature. These factors influence how well your orchids absorb nutrients through their roots. Proper air circulation and suitable potting mix also play a vital role in nutrient uptake.
Watering is another critical component to consider. Always water your orchids before applying fertilizer to avoid damaging their roots. Fertilization, when combined with good watering practices, creates an ideal growing environment.
Air Circulation and Its Impact on Orchids
Air circulation plays a crucial role in the health of your orchids. Proper airflow helps maintain the right humidity and temperature. When air is stagnant, moisture can build up around the leaves. This might lead to fungal issues, which can harm your plants. All orchids thrive in environments where air flows freely. It is essential to mimic their natural habitats.
To improve airflow around your orchids, consider the placement of your plants. Positioning them near an open window can create a gentle breeze. Using fans in your growing area also helps keep air moving. Fans should emit soft air currents, avoiding strong blasts that disturb the delicate plants. A good strategy is to avoid clustering orchids too closely together. Spacing them out can prevent pockets of stagnant air.
Maintaining optimal conditions goes beyond air. Factors like lighting, soil quality, and potting methods are equally important. Orchid types may have different needs, so research is key. During high humidity periods, ensure that your orchids receive enough air. The right combination of humidity and airflow will promote healthy growth.
Watering and fertilization practices should also be adjusted according to air circulation. If air flows well, your orchids generally dry out faster. Frequent checks on soil moisture can help prevent overwatering. When conditions are less favorable, it might be good to reduce watering until the environment stabilizes. Remember, during repotting, choose pots that allow for drainage and airflow through the soil. This can significantly impact plant health.
In summary, air circulation is vital for orchids. A few simple changes can make a big difference. From adjusting placement to using fans, efforts to enhance airflow will pay off. Observing how your plants respond to these changes is equally important. Just like people, orchids flourish in environments where they can breathe easily.
Repotting Orchids
When and Why to Repot Orchids
Repotting orchids is a key part of their care. Trim and refresh your plant when it begins to lose vigor. Generally, this process happens every one to two years. Orchids thrive in pots that don’t limit their growth. Roots can become cramped, leading to problems. A larger pot allows for healthier growth. Old soil can break down and trap moisture. This leads to rot, which is harmful. Fresh soil reintroduces nutrients that plants need for optimal growth.
Techniques for Successful Repotting
Start by gathering the right materials. Use clean, sterilized tools to avoid spreading disease. Carefully remove the orchid from its current pot. If roots are stuck, you may need to gently tease them out. Examine the roots thoroughly. Cut away any that are brown or mushy. Next, prepare new, well-draining potting medium suited for your orchid types. Fill the new pot partway, then position the orchid in the center. Add more medium until the pot is filled, ensuring the plant is stable. Water the orchid after repotting to help it adjust. Effective air circulation is crucial after this process, so keep it in a suitable spot.
Signs That Indicate It’s Time to Repot
Several signs show it’s time for repotting. Check for roots growing out of the drainage holes. This indicates that the plant has outgrown its container. Wilting leaves despite adequate watering may also signal stress. If the soil seems hard and compacted, it’s time for a change. You might notice yellowing leaves, suggesting poor soil quality. Lastly, if growth appears stunted or sluggish, repotting can often help. Remember, every orchid type has specific needs, so understand what works best for yours. Proper care leads to a vibrant, healthy plant.
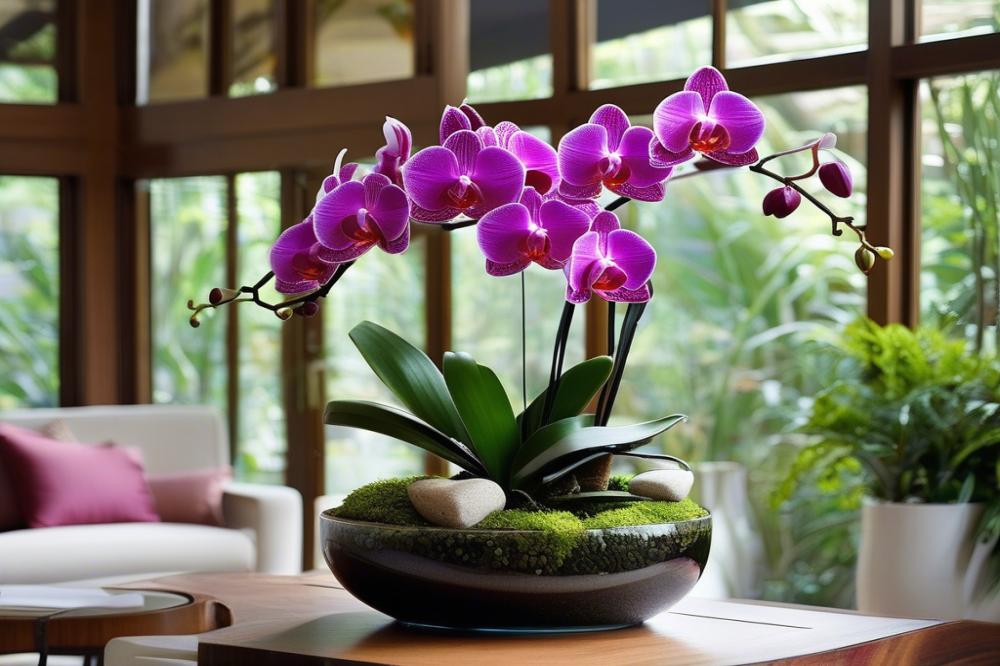
Final Thoughts on Creating a Thriving Orchid Habitat
Understanding how to create the ideal environment for your orchids is a fulfilling journey. Start with proper light, and remember that these beautiful plants thrive under bright, indirect sunlight. A temperature range that is comfortable for you is usually perfect for them too, typically between 65°F and 75°F during the day and slightly cooler at night. Pay attention to the humidity levels; orchids prefer a moist atmosphere, ideally between 50% and 70%. A simple humidity tray or a room humidifier can make a significant difference.
Daily observation is key to recognizing changes in your orchids. Take the time to watch for signs of distress or growth. Healthy plants can give you hints about their needs, from adjusted watering to changes in light exposure. This ongoing care will deepen your connection with these exquisite flowers. You’ll find that tending to their requirements can be just as rewarding as watching them bloom.
growing orchids can be a joyful hobby. Each flower presents a chance to learn and celebrate nature. As you nurture your plants, enjoy the beauty they bring into your home. It’s not just about achieving the perfect orchid, but about engaging with the process. Embrace the challenges and triumphs that come with cultivating these extraordinary plants. Whether you’re a beginner or an experienced grower, there’s always something new to discover.