How to Start growing orchids at Home
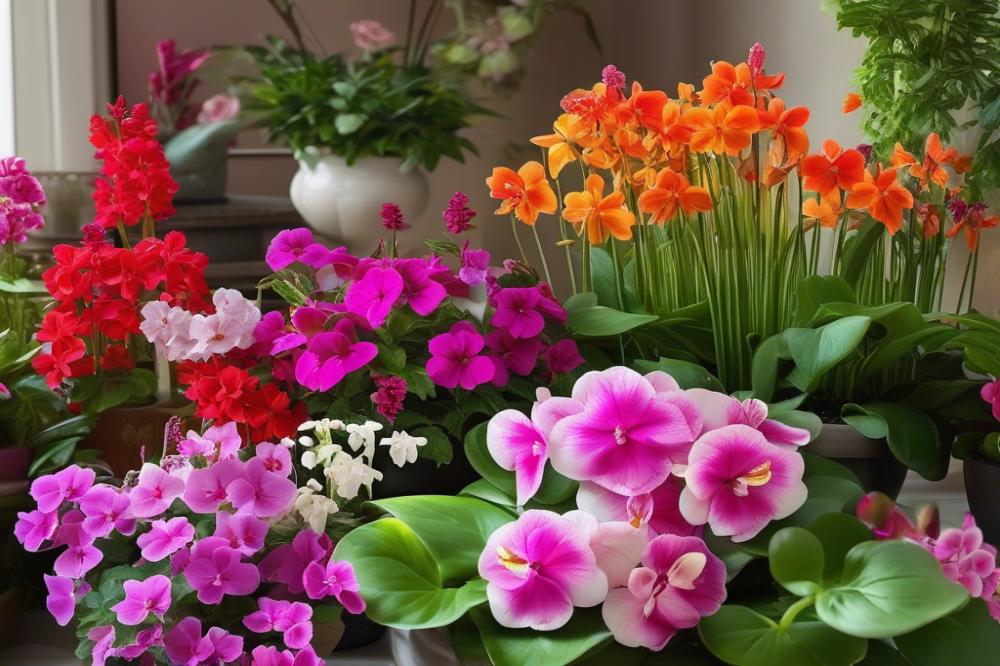
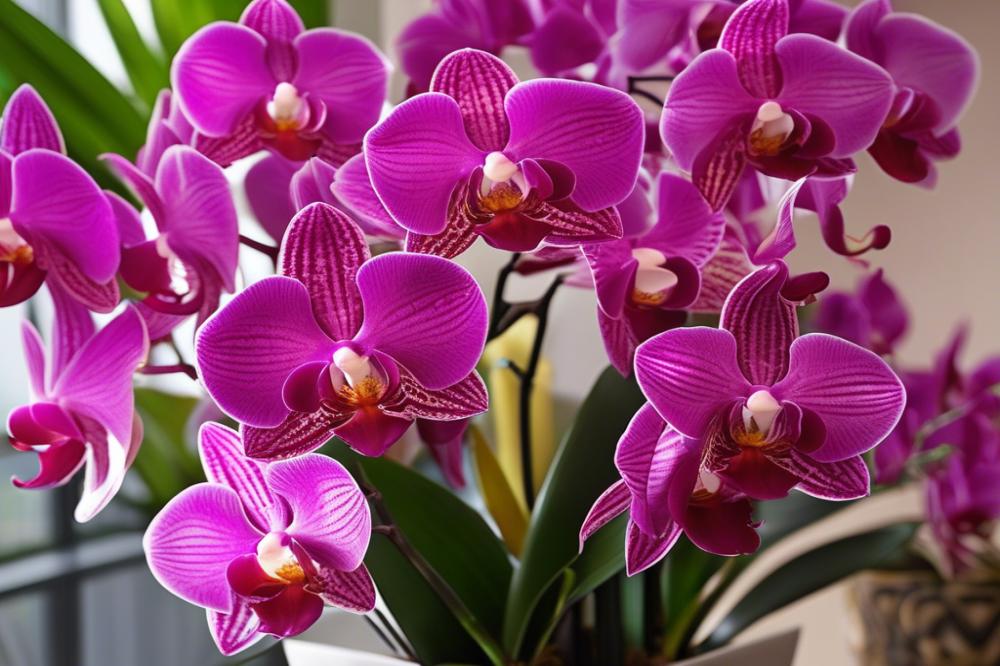
Many people curious about plants often find themselves captivated by the beauty of orchids. These stunning flowers are not just for florists or botanical gardens. With the right knowledge, anyone can enjoy the elegance of orchids in their own home. growing orchids adds a splash of color and grace to home gardening and transforms an ordinary space into a vibrant oasis.
Orchids stand out among houseplants for several reasons. Their diverse shapes and colors can elevate any room. Whether you prefer bright, bold colors or soft, delicate hues, there’s an orchid that suits your taste. Home gardeners often appreciate the challenge orchids present. Each species requires specific orchid care techniques, making the process rewarding and engaging.
Satisfaction often comes from nurturing these exotic plants. Watching them bloom is like witnessing a miracle unfold. Students, teachers, or anyone passionate about gardening can find joy in this pursuit. The experience offers lessons in plant care, from understanding water requirements to the importance of humidity levels. Novice growers quickly learn the significance of proper lighting for orchids. Choosing the right potting mix is pivotal, too. This ensures the plant can thrive but also adds another layer of enjoyment.
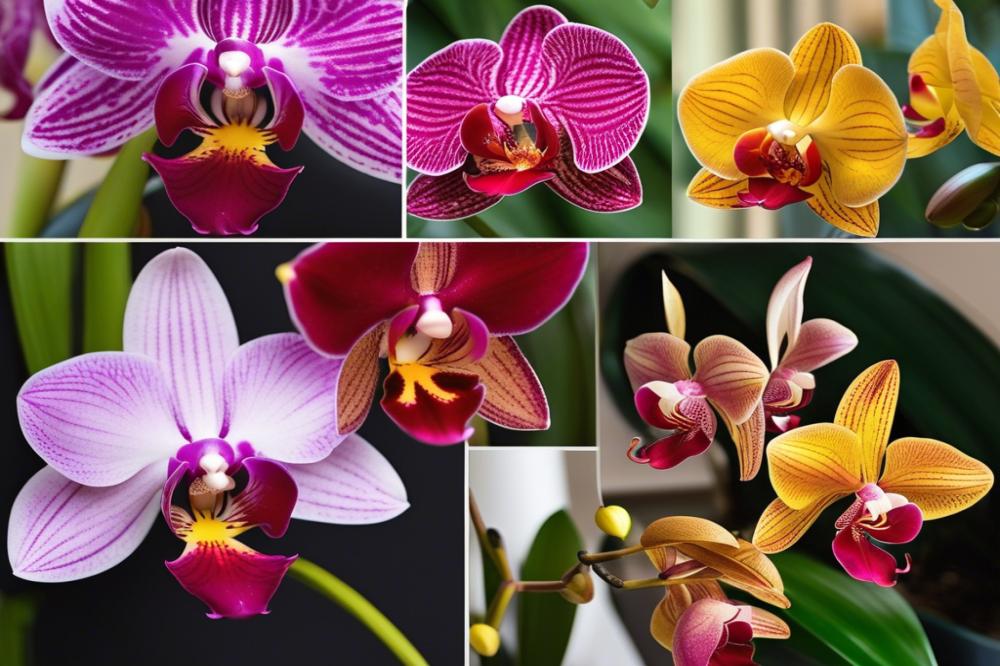
When starting, keep in mind the wide variety of orchid species available. Phalaenopsis, Dendrobium, and Cattleya are just a few examples. Each has its unique characteristics and care needs. Repotting orchids can seem daunting, yet it is essential for their health. Learning about fertilization routines also enhances the growth experience. Beginners can look forward to exploring each facet of orchid cultivation.
In essence, cultivating these remarkable plants brings not only aesthetic pleasure but also a rewarding hobby. The journey into the world of orchids begins with a spark of curiosity and is deepened by knowledge of their care and requirements. So, let’s dive into the fascinating world of growing orchids!
Getting Started with Growing Orchids
Choosing the Right Orchid Species for Beginners
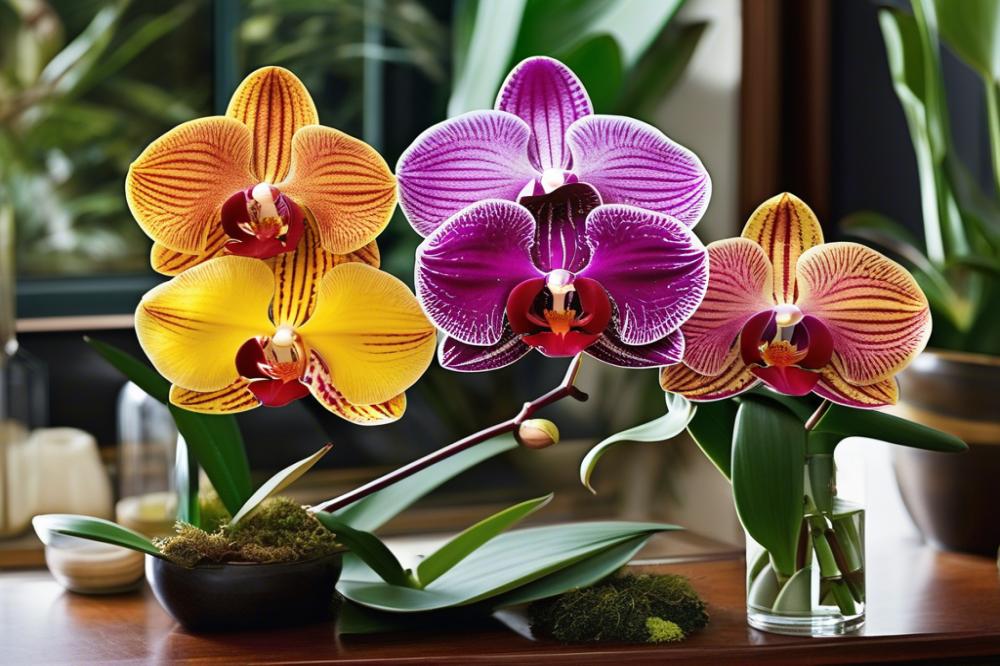
Starting with orchids can be an exciting journey. Some species are easier for beginners to handle than others. Phalaenopsis, commonly known as the moth orchid, is perfect for novices. These plants thrive in low light and have simple water requirements. Another good choice is the Dendrobium. This variety is resilient and adapts well to various conditions. Cattleyas are also a great option. They have vibrant colors and can boost confidence in your plant care skills.
In addition, consider the Oncidium, often referred to as dancing lady orchids. Their charming flowers brighten up any space. Furthermore, they are known for their ability to tolerate a range of humidity levels. Selecting the right species sets the foundation for a rewarding home gardening experience. Each type has unique needs, but starting with these will help you learn the basics.
Essential Tools and Supplies Needed for Growing Orchids at Home
Gathering the right tools is crucial for success. Begin with a suitable potting mix designed specifically for orchids. This type helps with aeration and drainage. Additionally, good quality pots with drainage holes are necessary. Clear plastic pots are excellent because they allow you to monitor root health.
A watering can will aid in delivering the right amount of moisture. Pay attention to the water requirements of your orchid species. An essential tool is a humidity tray to maintain moisture in the air around your plants. Use a hygrometer to check humidity levels regularly. Do not overlook fertilization; use orchid-specific fertilizers to promote healthy growth.
Lighting for orchids can be tricky, so investing in a grow light might be worthwhile. Some environments have insufficient natural light. A thermometer is also useful to monitor temperature. Checking the environment helps avoid stress on the plants. Lastly, keep potting tools handy for repotting orchids when necessary. Tools like scissors and spatulas will make the process easier.
By understanding these basics, you create a healthy environment for your orchids. They will flourish and reward you with their beautiful blooms. Remember, every little detail matters in this exciting plant journey.
Understanding the Basic Needs of Orchids
Water Requirements for Orchids: Frequency and Methods
Orchids have specific water requirements that differ from many other houseplants. Typically, it’s best to water them once a week, but this can vary based on the environment. Pay attention to your potting mix; if it’s dry an inch down, it’s time to water. When watering, do it thoroughly. Let water flow through the drainage holes at the bottom. This method helps avoid root rot and ensures the plant receives adequate moisture.
Over-watering is a common mistake among novice growers. Too much moisture can suffocate roots and lead to disease. A good rule of thumb is to observe your orchids. If the leaves start to look puckered, they might be thirsty. Always remember, moderate watering is key to healthy orchid care.
Lighting for Orchids: Ideal Conditions Based on Species
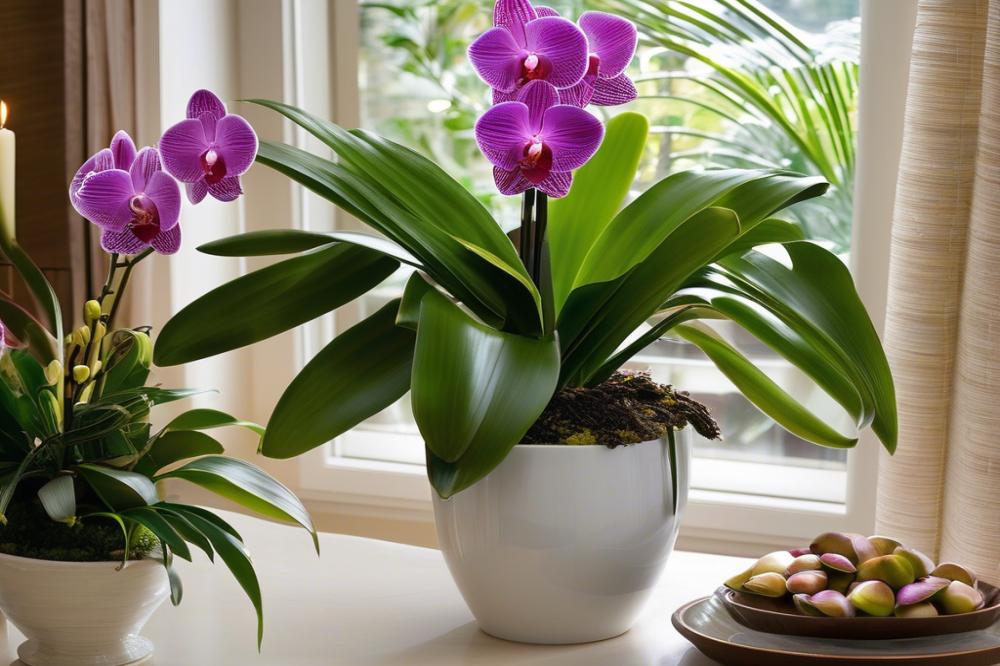
Different orchid species have varying lighting needs. Phalaenopsis, or moth orchids, prefer bright, indirect light. Meanwhile, Cattleyas thrive in bright light and can even tolerate some direct sunlight. Knowing your orchid species is vital for optimal growth.
Placing orchids near a window is a good idea, but be cautious of direct sun scorching the leaves. Sheer curtains can help filter light and create that ideal condition. If natural light is limited, consider using grow lights. These artificial light sources can mimic sunlight, providing the necessary illumination for your plants.
The Importance of Humidity and How to Maintain It in Your Home
Humidity plays a crucial role in orchid health. Most orchids thrive in environments with 40-70% humidity. Dry air can stress these plants, leading to poor growth or flower drop. To maintain humidity, mist your orchids regularly. Another method is placing a tray filled with water and pebbles beneath the pots. As water evaporates, it increases humidity around the plants.
Be mindful of indoor heating and air conditioning. These can dry out the air quickly. Using a humidifier can help, especially during winter months when indoor air tends to be drier. Regularly checking humidity levels can enhance plant care and promote vibrant growth.
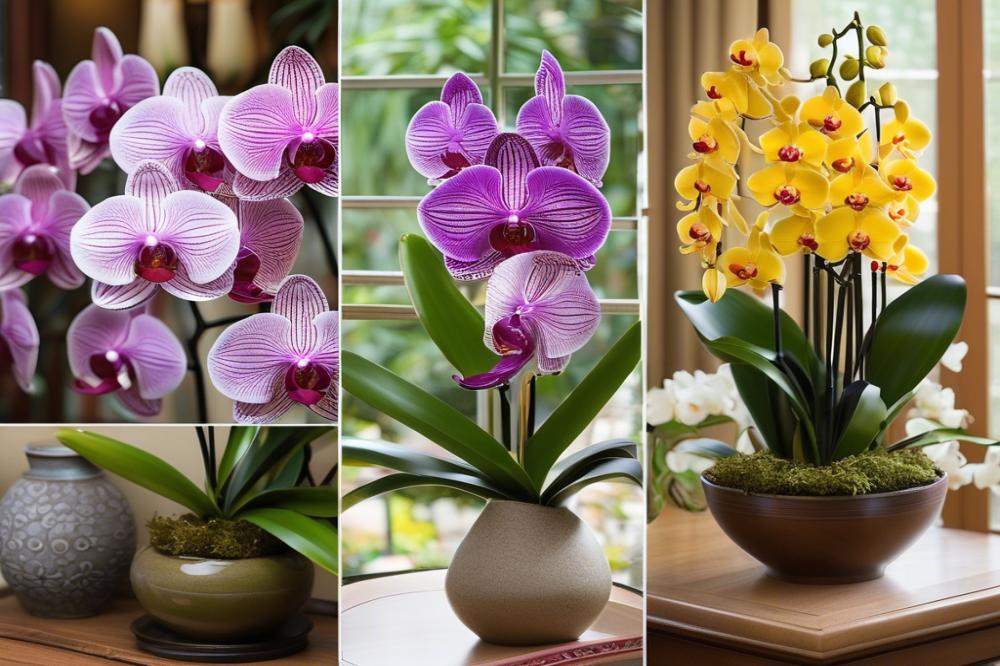
Choosing the Right Potting Mix and Containers
Picking the right potting mix is essential for different orchid species. Some prefer chunky bark or coconut husks while others thrive in moss. Dendrobiums, for example, enjoy a mix that offers excellent aeration. Phalaenopsis orchids, on the other hand, often do well in a finer mix combined with charcoal. Knowledge of specific water requirements is key to maintaining healthy plants.
Proper drainage in containers cannot be overlooked. Orchids do not like sitting in water. Ensure that pots have sufficient holes or slits to allow excess moisture to escape. This will help prevent root rot, a common issue for orchid enthusiasts. Clay pots are often a favorite because they breathe well and provide a stable environment.
Pay attention to signs that indicate it’s time to repotting orchids. Roots growing out of the pot or a mix that has broken down can signal a need for a fresh start. Yellowing leaves might suggest overwatering or poor soil conditions. It’s vital to provide a proper environment for these plants to flourish.
In home gardening, maintaining the right humidity levels is just as crucial as choosing the right potting mix. Some orchids favor a more humid setting while others can adapt to drier conditions. Regularly check your plants to see how they react to their environment. This also closely ties into the lighting for orchids. Not all varieties need the same light, and this will impact their growth and health.
Lastly, consider fertilization routines when selecting your potting mix. A well-balanced fertilizer can greatly influence plant health. Many orchid species flourish better when fed appropriately during their growing seasons. Adapting care to match specific species can lead to vibrant blooms and overall plant health.
Care Techniques for Healthy Orchids
Fertilization: Understanding Orchid Nutrients and Feeding Schedules
Growing orchids requires a good understanding of their nutritional needs. Unlike many houseplants, orchids thrive on specific forms of fertilizer. Use a balanced fertilizer formulated for orchids to provide essential nutrients. Apply the fertilizer every two weeks during the growing season. This typically spans from spring to autumn. During the winter months, reduce feeding to once a month. Just remember, over-fertilizing can damage roots, so follow the recommended guidelines. Keep an eye on the condition of your orchids. Some species may benefit from extra potassium or calcium during specific growth stages.
Common Pest Control Measures and Disease Prevention
Pests can pose a challenge when cultivating orchids. Aphids, mealybugs, and spider mites are common threats. Regularly inspect your plants for signs of infestation. If you notice any pests, act quickly. Manual removal can often solve minor bug problems. In more severe cases, consider using insecticidal soap or neem oil. Disease prevention is equally important. To maintain healthy orchids, avoid overwatering, as standing water can foster fungal infections. Maintain good air circulation around each plant. This practice lowers humidity, which helps prevent mold growth. Additionally, quarantining new plants for a few weeks can keep unwanted diseases from spreading.
Regular Maintenance Practices: Pruning and Grooming
Caring for orchids involves consistent maintenance. Pruning dead or wilted flowers promotes healthier growth. Use clean, sharp scissors to avoid introducing any bacteria. Pay attention to the leaves as well. Cut away any yellow or brown leaves to improve the overall appearance of the plant. Grooming also includes repotting orchids. Every one to two years, check if your plants need fresh potting mix. The right mix can enhance drainage and support healthy root development. Ensure humidity levels remain optimal. Monitoring humidity around your plants can greatly influence their health. With regular attention, you can nurture orchids into beautiful blooms.
Troubleshooting Common Orchid Problems
Many people face challenges while caring for their orchids. Yellowing leaves are often the first sign that something is wrong. A variety of issues can lead to this. It may be a water problem or insufficient lighting for orchids. Examine the plant closely. If the roots appear mushy, overwatering is likely the cause. Adjust your water requirements accordingly. On the other hand, underwatering can also result in yellow leaves. Make sure the potting mix is appropriate and retains the right amount of moisture.
Wilting flowers present another common issue for orchid enthusiasts. Overexposure to direct sunlight can contribute to this condition. Using sheer curtains or placing the orchid in a shadier spot might help. Sometimes, wilting occurs when the plant is stressed from rapid temperature changes. Keeping your orchids in a stable environment is crucial. This includes maintaining consistent humidity levels, as orchids thrive in moist conditions.
Encouraging Blooming
Budding flowers, with their unique beauty, bring joy to any home gardener. However, stimulating flower growth requires specific attention. One key aspect is proper fertilization. During active growing periods, use a balanced orchid fertilizer. Apply it every two weeks to supply essential nutrients. Yellowing leaves can also indicate a lack of nutrients, so keep an eye on that.
Another important factor is the species of orchid. Certain varieties have different care needs. Some orchids may require more light to trigger blooming. If your plants are not blooming, reevaluate their placement and adjust the lighting for orchids accordingly. Seasonal changes can also factor into the blooming cycle. Many orchids bloom at specific times of the year, which can be a natural rhythm.
Humidity plays a vital role in flower production as well. Most orchids prefer humidity levels between 50% and 70%. Consider using a humidifier or placing a tray of water nearby to support this. Repotting orchids every one to two years can also encourage them to thrive. Fresh potting mix rejuvenates the plant, promoting healthy root systems and enhancing growth.
Wrapping Up Your Orchid Journey
Recapping the essentials, starting an orchid collection at home can be both rewarding and enjoyable. Understanding the specific needs of these plants is crucial. Each type has unique requirements regarding light, watering, and temperature. By creating an ideal environment, you will foster their growth and blooming capabilities.
Don’t hesitate to explore various orchid species. Each variety brings its charm and character. Trying different types can make your home gardening experience more vibrant and exciting. Whether it’s a Phalaenopsis or a Cattleya, there’s much to learn and discover. Experimentation can lead to surprising results and a more diverse collection.
In closing, nurturing a thriving collection of orchids takes patience and care. They may be a bit challenging at first, but the beauty they add to your home is worth it. So, roll up your sleeves, delve into this fascinating hobby, and enjoy the journey of growing these lovely plants. Happy gardening!