How to repot orchids Step-by-Step Guide
Orchids are enchanting plants that captivate many with their vibrant colors and delicate forms. They are popular among both novice and experienced gardeners. Growing and cultivating orchids requires attention and care, but the rewards can be immense. These flowers add beauty to any space, brightening up homes and gardens alike. Yet, to maintain their stunning appearance and vibrant health, proper orchid care is essential.
One critical aspect of caring for orchids is understanding the importance of repotting. Regularly changing the growing medium not only allows for fresh nutrients but also helps prevent issues like root rot. When to repot orchids often depends on the type of orchid and its growth stage. As a general guideline, orchids should be repotted every one to two years, or when their potting medium decomposes. Skipping this step can lead to unhealthy plants that fail to bloom beautifully.
Exploring Different Orchid Types
Orchids come in various types, each with unique needs. Among these, epiphytic orchids stand out. These exceptional plants typically grow on trees in their natural habitats, drawing moisture and nutrients from the air and rain. They thrive in well-draining orchid substrates that mimic their natural environment. When pot selection is crucial for these orchids, proper ventilation and support are needed for their roots.
Using suitable orchid soil is essential for creating a healthy environment. Different orchids may require different mixtures, so research is vital. Many people enjoy the challenge of orchid potting because it entails selecting the best medium to promote growth while maintaining proper watering techniques. Once you understand the needs of your specific orchid species, the process becomes simpler.
In summary, cultivating orchids is a rewarding journey, requiring knowledge and care. The significance of repotting cannot be overlooked—it’s foundational for maintaining orchid health. For those with a passion for plants, learning how to repot orchids effectively can empower you to grow these beautiful blooms successfully. With thoughtful orchid maintenance, you can enjoy the splendid beauty they offer for many years.
Understanding When to Repot Orchids

Signs that indicate the need for repotting
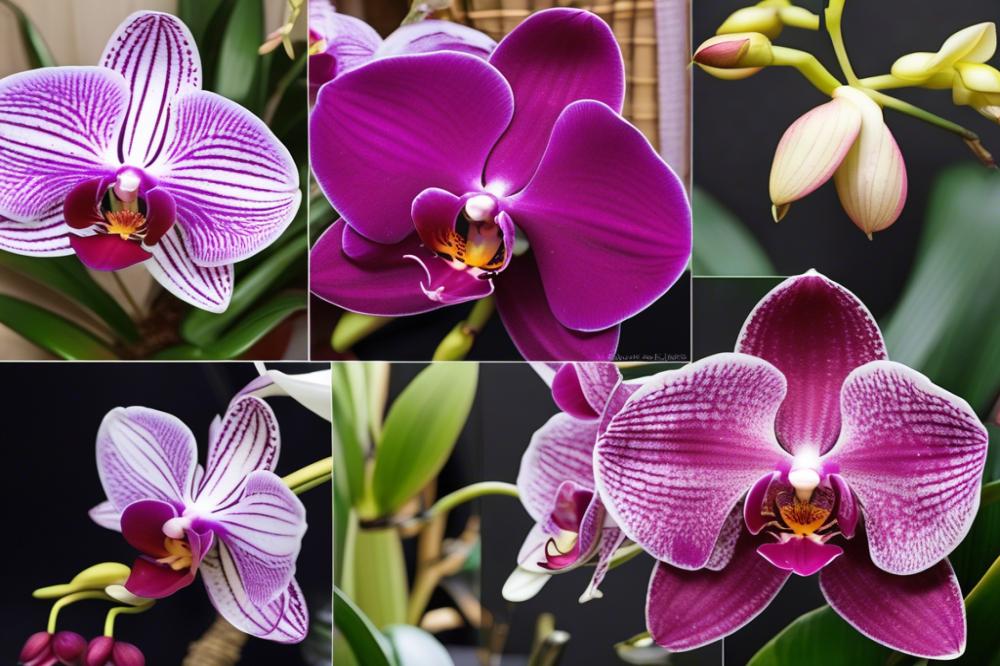
Notice how your orchid looks. If the roots are growing out of the pot or become tightly packed, it’s time to take action. Yellowing leaves or stunted growth suggest a lack of nutrients. These symptoms often indicate poor orchid health. Also, if the potting media breaks down and appears mushy, replace it. A bad substrate can harm your plant significantly. Don’t wait too long once you see these signs.
Frequency of repotting based on orchid species
Different orchid species require different care strategies. For example, epiphytic orchids come with unique needs. Generally, repotting should occur every one to two years. Some orchids tolerate longer intervals, while others might need it sooner. Always consider their specific types when planning your orchid maintenance. Use the right techniques to promote healthy growth. Remember, proper pot selection and substrate play crucial roles.
Best times of year to repot orchids
Timing matters greatly in orchid care. The optimal seasons for repotting typically fall in spring and early summer. During this time, plants actively grow and adapt more easily. It’s best to avoid repotting during winter months, as orchids are usually dormant. Doing so can stress the plant. Look for signs of new growth to increase chances of success. Watering orchids lightly after repotting can help them adjust well.
Selecting the Right Orchid Pot
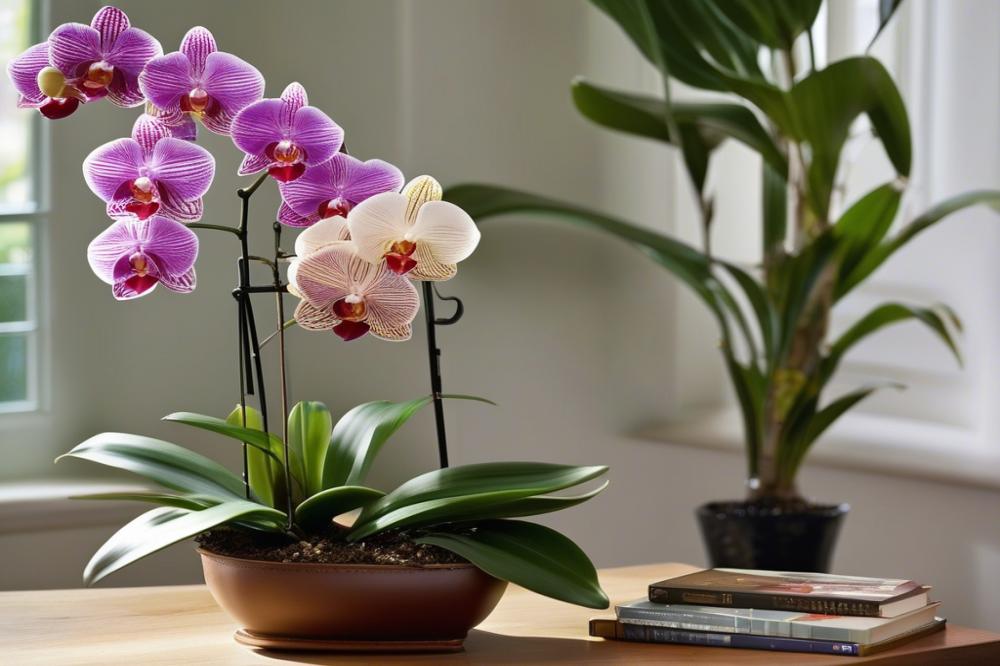

Choosing an appropriate pot for your orchids is vital for their growth. Several factors should guide your decision. Understand that the container affects both water and air circulation. This aspect is particularly critical for epiphytic orchids, which thrive in environments that mimic their natural habitats. Evaluate the materials available, as these can influence orchid health significantly.
Factors to Consider in Pot Selection
The first thing to think about is drainage. Proper drainage is essential to prevent overwatering. Waterlogged roots can lead to disease. Next, consider the growth rate of your orchids. Fast-growing varieties may need larger pots sooner. You must also think about how much light the pot will receive. Materials that absorb heat can be beneficial in cooler environments.
Differences Between Plastic, Clay, and Decorative Pots
Plastic pots are lightweight and retain moisture. They’re easy to handle and often come in various sizes. Clay pots, on the other hand, are porous. They allow for better air circulation but dry out faster. Decorative pots often lack adequate drainage holes, which can be problematic. When selecting one, make sure to place a proper potting container inside it.
Choosing the Right Size Pot for Your Orchids
Size matters a lot when it comes to pot selection. A pot that is too large can lead to excess moisture retention. This situation may also hinder root growth. Ideally, select a container that is just one size larger than the current one. This approach will help maintain optimal orchid soil balance. Pay attention to the type of orchid substrate you’re using, as different substrates have varying moisture levels.
Choosing the Appropriate Orchid Substrate

Overview of Orchid Soil Types and Their Functions
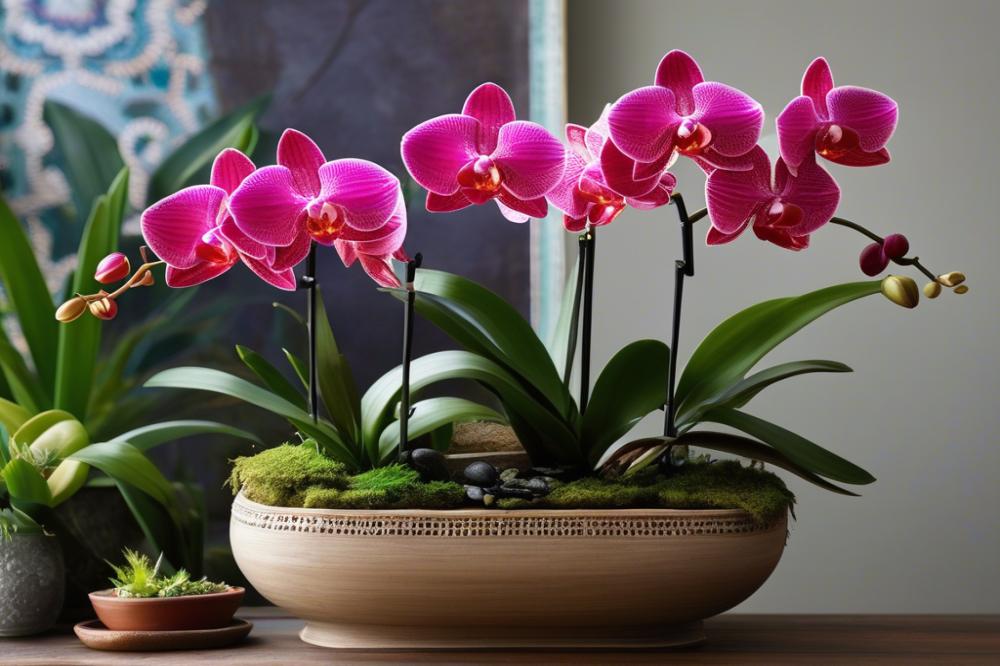
Selecting the right orchid soil is essential for successful orchid potting. Orchids have specific needs, so typical potting mixes don’t work well. Instead, they thrive in unique substrates that allow for good airflow and drainage. This is vital for their roots, which are not accustomed to being bogged down in soil. Understanding the types of orchid substrates can help you provide the best environment.
Recommended Orchid Substrates for Different Orchid Types
Different types of orchids require different substrates. For instance, epiphytic orchids, such as Phalaenopsis, do well in a mix containing bark, charcoal, and sphagnum moss. This mixture allows the roots to breathe while retaining some moisture. On the other hand, terrestrial orchids need a denser mix, sometimes including soil, to support their growth. Always check what type of orchid you have. Knowing when to repot orchids can guide you on whether the current substrate is still suitable.
How a Good Substrate Aids in Orchid Health
A good substrate supports overall orchid health. Proper orchid maintenance involves ensuring roots have access to air while absorbing water. A well-draining mix prevents root rot, which is a common issue for many growers. Good drainage creates a balance, allowing roots to receive moisture without sitting in water. Over time, the right pot selection and substrate can lead to beautiful blooms and robust growth. Always prioritize the unique needs of each orchid to enhance their health and vitality.
Step-by-Step Repotting Techniques
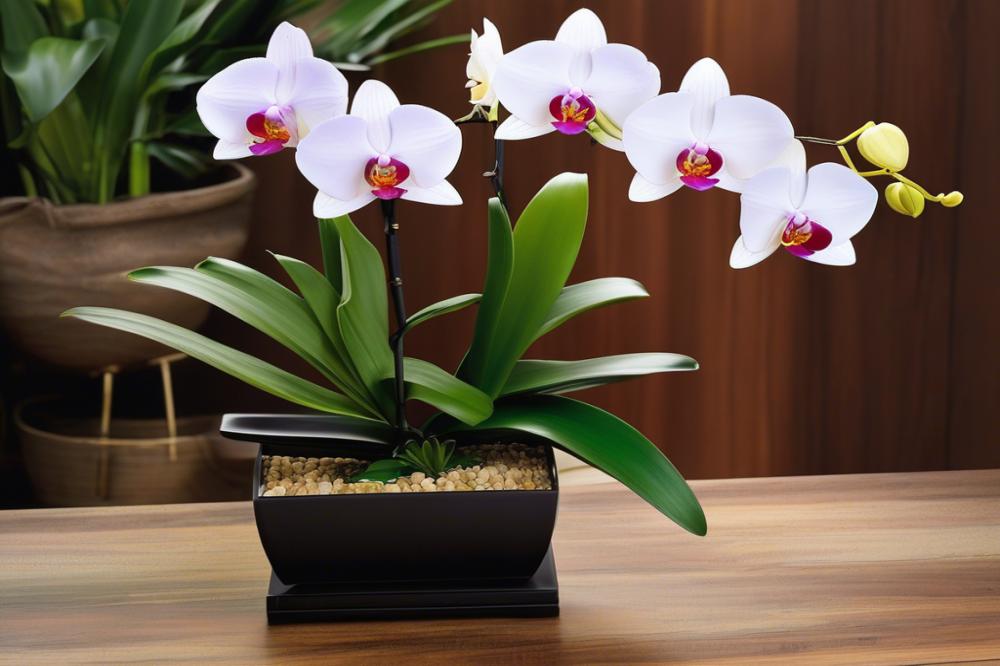

Changing the pot of an orchid requires care and attention to detail. Knowing when to repot orchids is just as crucial as the process itself. Signs to look for include roots growing out of the pot or a decline in thriving appearance. Make sure you have all supplies ready before you begin.
Preparing the New Pot and Substrate
Start by selecting an appropriate pot. Choose one with drainage holes to avoid waterlogging. The new pot should be slightly larger than the old one. Consider using terracotta or plastic. Both materials work well for orchid potting.
Next, gather your orchid substrate. A mix containing bark chips, moss, and coconut husk works well for many orchids, especially epiphytic varieties. This unique combination allows for healthy root growth and appropriate moisture retention. Prepare the substrate by soaking it in water for a few hours before you use it. Moist substrate helps keep the roots safe during the transition.
Careful Removal and Inspection of the Orchid Plant
Hold the current pot securely. Gently pull out the plant while keeping an eye on the roots. Sometimes roots stick to the edges of the pot. If this happens, use a knife or scissors to help free them. Be careful during this process; damage can impact orchid health. Once the plant is free, inspect the roots closely. Trim away any brown or mushy sections. Healthy roots should be firm and green.
Replanting Techniques for Stability and Health
Now it’s time to replant. Place a small amount of orchid soil in the new pot as a base. Position the orchid in the center, making sure the roots are spread out. Fill in with more substrate around the roots. Tap the pot gently to remove any air pockets. Ensuring the roots are covered properly will promote stability.
After planting, water the orchid lightly. Allow excess water to drain out. Proper watering orchids post-repotting is important. Avoid overwatering, as this can cause root rot. Monitor your orchid closely for the next few weeks. Early signs of stress should not be ignored. Following these repotting techniques will benefit your orchid’s overall health.
Watering Orchids After Repotting
Watering orchids properly after repotting is crucial. The first few weeks can determine the success of your new potting situation. Too much or too little water can both harm the plant.
Knowing how to avoid overwatering can save your orchid’s life. Choose the right timing when you water. After repotting, it’s often best to wait a week before you water the orchid again. This waiting period allows the roots to settle and recover from the transplant. Using an orchid substrate that drains well is vital. If your orchid soil holds too much moisture, root rot can develop quickly.
On the other hand, underwatering can also be a problem. If the orchid dries out too much, it can become stressed. Look for signs of dehydration, like shriveled leaves or dry roots. A good rule of thumb is to feel the growing medium. If it feels dry a couple of inches down, it’s time to water.
Monitoring Humidity and Environmental Factors
Humidity plays an essential role in watering orchids effectively. Many epiphytic orchids thrive in higher humidity levels. Keeping humidity between 40% to 70% will help maintain orchid health. Using a humidity tray or a small humidifier can be beneficial.
Environmental factors are another consideration. Bright, indirect sunlight is best during recovery. Too much direct sunlight can create a stressful environment. Also, consider air circulation. Good airflow prevents fungal diseases that can result from excess moisture.
Pay close attention to temperature as well. Extreme fluctuations can shock a newly repotted plant. Ideal temperatures for orchid care are generally between 65°F and 80°F during the day.
The right pot selection can also influence your watering routine. Make sure your pot has adequate drainage holes. This helps prevent water from pooling at the bottom, which is often the cause of overwatering. When you repot orchids, ensure you use a suitable potting medium designed for them.
Regular observation is key. Monitoring both the plant and its environment can help you make adjustments. Take note of changes in leaf color or growth patterns. These can indicate whether your watering strategy is effective. Remember, successful orchid maintenance relies on a balanced approach to care.
Ongoing Orchid Maintenance After Repotting
After you repot orchids, maintenance plays a key role in their health. Orchids have specific care needs that affect their growth. Following a few essential tips will help you nurture them effectively.
Essential Tips for Post-Repotting Care
Start by observing your orchid closely after the repotting process. Watch for signs of stress, like wilting leaves or drooping blooms. These indicators may mean the plant needs immediate care. It’s vital to give the orchid time to adjust to its new environment.
Watering orchids is crucial. Wait about a week before you water them again. This delay allows the roots to recover from any damage caused during repotting. Maintain a consistent watering schedule afterward, but do not overwater. Proper orchid substrate retains moisture while providing airflow for the roots.
Understanding the Orchid’s Needs for Light and Temperature
Light is another important factor in the care of epiphytic orchids. Place your orchid in a spot with bright, indirect sunlight. Too much direct light can scorch the leaves, while too little light slows growth. Temperature also matters. Most orchids prefer a range from 65 to 75 degrees Fahrenheit during the day. Make sure night temperatures stay around 10 degrees cooler.
Long-Term Maintenance to Promote Healthy Growth
In the months following your repotting, continuing to monitor your plant is vital. Fertilizing these plants every two weeks during the growing season supports their health. Use a specialized orchid fertilizer mixed at half strength. Regularly check for pests or diseases; quick action can prevent larger issues later.
Choosing the right pot selection is also essential for long-term success. Ensure the container has proper drainage holes to avoid water buildup. As your orchid grows, you may need to change its pot again. Knowing when to repot orchids, typically every couple of years, will help manage their growth effectively.
Finally, be aware that each orchid species has different requirements. Pay attention to their unique needs regarding orchid soil and climate conditions. Keeping a close eye on your plant will reward you with beautiful blooms and healthy leaves.
Final Thoughts on Repotting Your Orchids
Repotting orchids is a key step for their health and vitality. Over time, roots can outgrow their pots or the medium can break down. When you take the time to refresh the growing environment, you give your plants a better chance to thrive. This simple act can lead to beautiful blooms and robust growth.
Following the steps outlined in this guide can make a big difference in your success as an orchid gardener. Each process—choosing the right orchid substrate, inspecting roots, and selecting an appropriate pot—is essential. When combined, these practices create a strong foundation for your plants.
Remember, caring for orchids isn’t just about repotting. Regular check-ups for pests, proper watering schedules, and adequate light exposure are also crucial. Your orchids rely on your attentive care, so keep an eye on their progress.
Using the right techniques and materials can lead to rewarding results. Orchid potting should feel rewarding and even enjoyable. Don’t hesitate to experiment with different types of substrates, as each orchid has its preferences. Take the journey one step at a time, and soon you’ll have stunning flowers to admire.
In summary, repotting plays a vital role in the health of your orchids. Make the commitment to engage regularly in their care. This will not only enhance their beauty but also bring you joy as you watch them flourish.

