Introduction
Orchids have become increasingly popular among indoor gardeners. Their stunning flowers and diverse types appeal to many people. Also, they come in various colors and shapes, making them a treat for the eyes. As more individuals choose indoor gardening, the allure of these elegant plants can’t be ignored. However, growing orchids isn’t as simple as it might seem. Adequate knowledge of their specific needs is crucial.
orchid care involves various aspects, from suitable orchid soils to knowing ideal lighting conditions. Understanding how to water orchids properly is essential for their health. Furthermore, certain humidity levels play a significant role in their growth. Each type of orchid has unique requirements. This knowledge helps ensure that these beautiful plants thrive in your home.
There is nothing quite like the satisfaction of nurturing a plant and watching it bloom. Successfully managing all aspects of growing orchids can be deeply rewarding. Tending to these plants allows you to witness their transformation while learning patience and dedication. As you dive into this journey, be prepared to enjoy not just the beauty, but also the challenges that accompany indoor gardening.
Getting Started with Growing Orchids

Choosing the Right Type of Orchids for Beginners
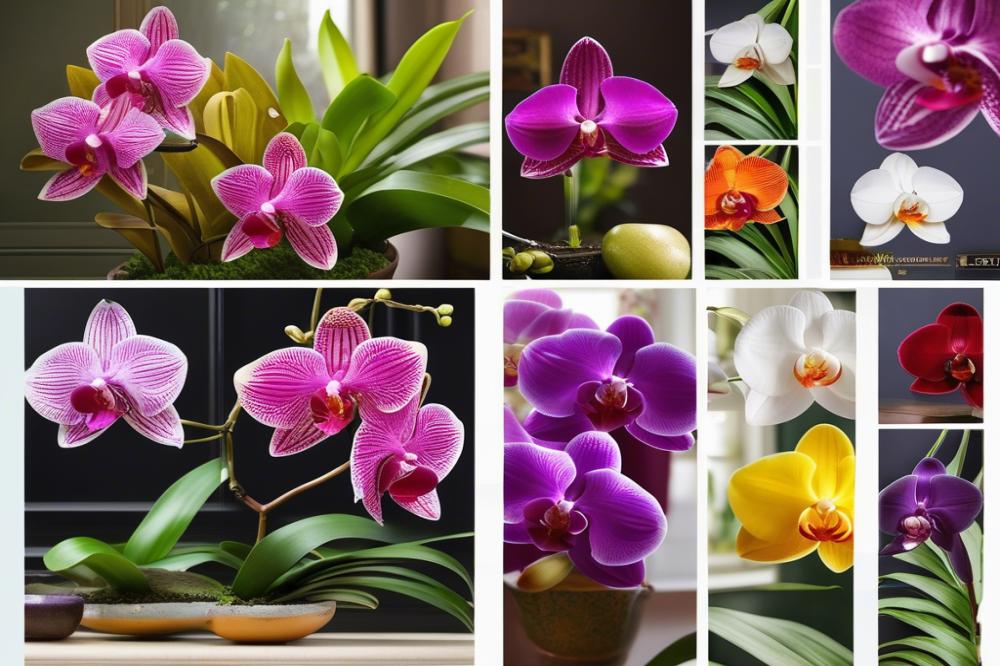
Starting with the right type of orchid can make a big difference. Phalaenopsis orchids, known as moth orchids, are among the easiest for beginners. These flowers bloom multiple times a year with proper care. Cattleya orchids are also a good option, resembling the classic flower shape. Dendrobium orchids are striking and relatively simple to grow too. Researching these types will help you feel more prepared to start.
Overview of Common Orchid Types Suitable for Home Growing
Phalaenopsis is the most popular choice for home gardening. They thrive in a variety of indoor environments. Another common type is the Oncidium, which produces clusters of small, vibrant flowers. For those who prefer a challenge, consider the Paphiopedilum, also known as the slipper orchid. Each type has unique characteristics, so pick one that calls out to you.
Understanding Orchid Growth Conditions
Creating the right conditions is key to success. Start with orchid potting that allows for good drainage. This plant does not like to sit in water. The soil must be airy and not too heavy. Proper orchid lighting is also crucial. Most varieties prefer bright, indirect sunlight. Try to keep them near a window that filters light.
Watering orchids requires careful attention. Allow the top inch of the potting medium to dry between waterings. It’s better to underwater than to overwater. Fertilizing your orchids should be done monthly, using a balanced orchid fertilizer. A consistent schedule helps them grow strong and healthy.
Humidity for orchids is another important factor. Many varieties thrive in humidity levels of 40% to 70%. A simple way to increase humidity is to place a bowl of water near the plants or use a humidity tray. Be aware of common orchid pests like aphids and spider mites. Regular checks can help catch problems early.
Setting everything up properly ensures stronger growth and long-lasting blooms. Follow these basic guidelines, and soon you’ll be delighting in your own orchid display.
orchid potting and Soil

Selecting Appropriate Orchid Pots
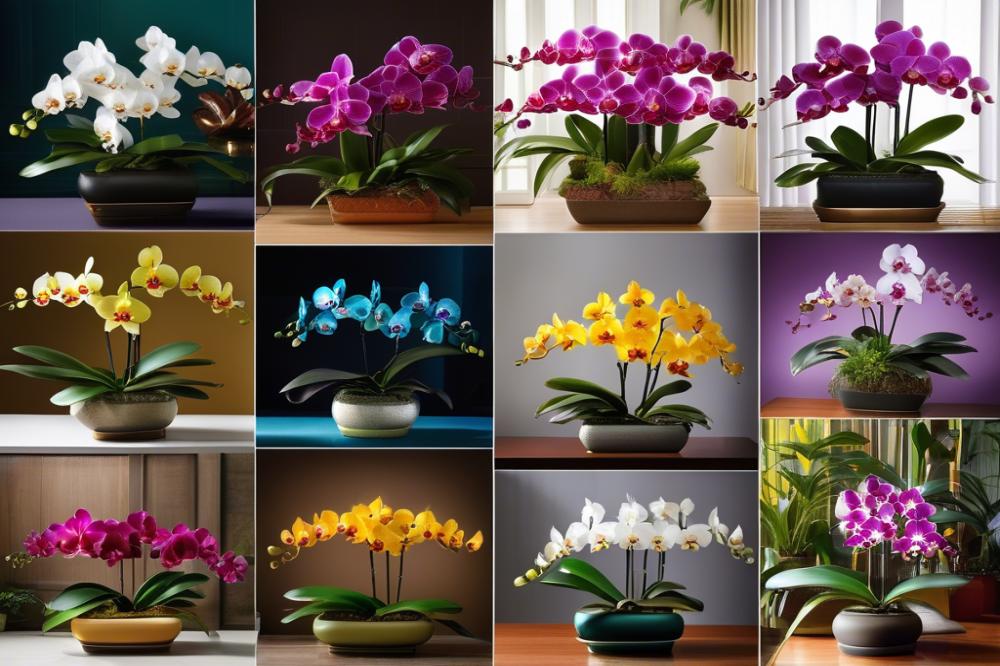
Choosing the right pot for your orchids is crucial. Look for pots that have drainage holes. Orchids thrive in well-drained conditions. This prevents water from sitting at the roots, which can lead to rot. Also, consider the material of the pot. Clay pots allow moisture to evaporate quickly. Plastic pots retain moisture but can sometimes suffocate roots. Whichever you choose, the pot needs to be slightly larger than the plant itself. Proper pot selection helps create optimal orchid growth conditions in your home.
Understanding Orchid Soil Mixes
Regular potting soil won’t cut it for orchids. These plants require a special mix. An ideal orchid soil consists of bark, perlite, and sphagnum moss. This blend provides air circulation around the roots while retaining some moisture. Each orchid type might have varied preferences, so research is key. For example, Phalaenopsis prefer a coarser mix while Cattleyas thrive in a slightly finer one. When gathering your materials, aim for a texture that enhances humidity for orchids but avoids sogginess.
Potting Techniques for Healthy Orchid Growth
Potting orchids is an art that gets easier with practice. Begin by removing the plant from its old pot gently. Inspect the roots carefully, trimming any that are brown or mushy. This promotes healthier new growth. Place the orchid in the center of the pot with the roots spread out. Fill in the spaces with your orchid soil mix. Make sure not to pack it down too tightly; the roots need space to breathe. Watering orchids should only be done after a few days, allowing the plant to settle in. Use a diluted orchid fertilizer a few weeks later to boost its health. By mastering these techniques, your indoor gardening experience will flourish, and your orchids will reward you with stunning blooms.
Optimal Lighting for Orchids
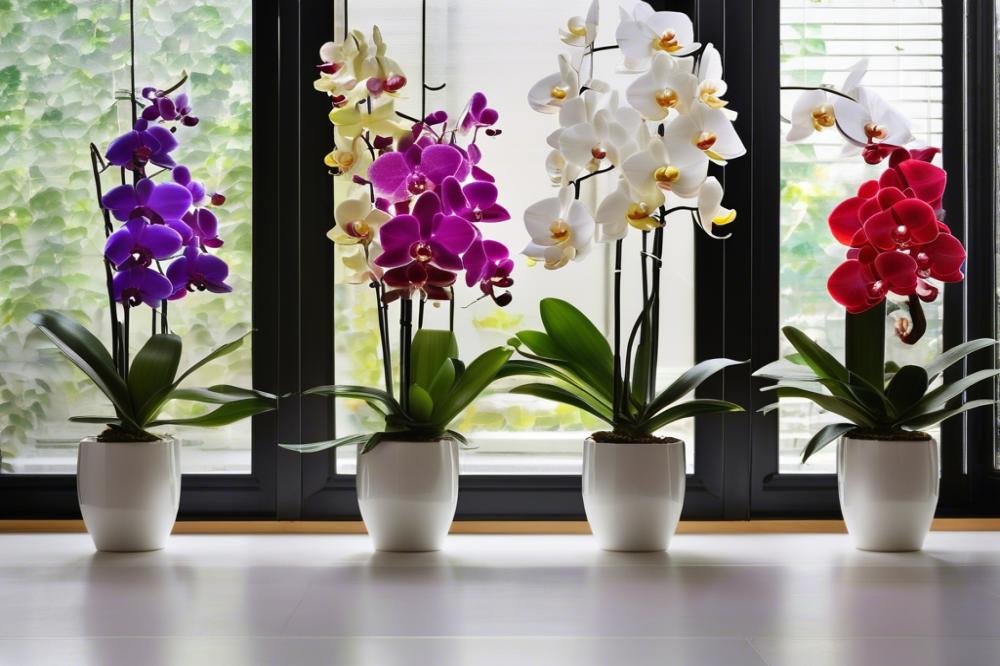

When it comes to nurturing orchids at home, illumination is key. Proper orchid lighting can make a significant difference in how well they thrive. Orchids, being tropical plants, have specific light needs that must be met. Without the right amount of light, these beautiful flowers won’t bloom or grow as they should.
Importance of Orchid Lighting
Natural light helps drive photosynthesis. Through this process, orchids produce energy, leading to healthy growth. A lack of adequate light can cause stems to grow leggy or leaves to become discolored. With insufficient light, flowering might even be delayed or completely avoided. Each orchid type has its own preferences for light intensity. Understanding these needs is crucial for successful orchid potting.
Types of Lighting Suitable for Orchids
Sunlight is wonderful, but not all light is created equal. East or south-facing windows typically offer the best natural light for many varieties. However, direct sunlight can scorch delicate leaves. Grow lights can also be an excellent alternative if natural light isn’t available. LED and fluorescent grow lights mimic sunlight effectively. They are energy-efficient and generate minimal heat, which prevents overheating. When choosing artificial lighting, be sure to select the right spectrum for your orchids.
Tips for Arranging Orchid Placement for Light Exposure
Positioning is everything when it comes to maximizing light. Start by placing your pots near windows that receive bright but indirect sunlight. This proximity allows your orchids to absorb adequate light without damaging their leaves. Rotate your plants regularly to ensure even light exposure. This practice helps all sides of the plant grow equally. Adjusting their position seasonally can also improve growth conditions. During winter, consider moving them closer to the window where they can catch more sunlight. Ensure the area is well-ventilated. Good air circulation keeps humidity for orchids at an optimal level and reduces the chance of common orchid pests.
Remember, keeping a balance in light exposure is essential. Too little light leads to weak growth, while too much can damage the plants. Monitor your orchids closely. Adjust your approach based on their appearance and overall health.
Watering Orchids Properly

Guidelines for Watering Orchids
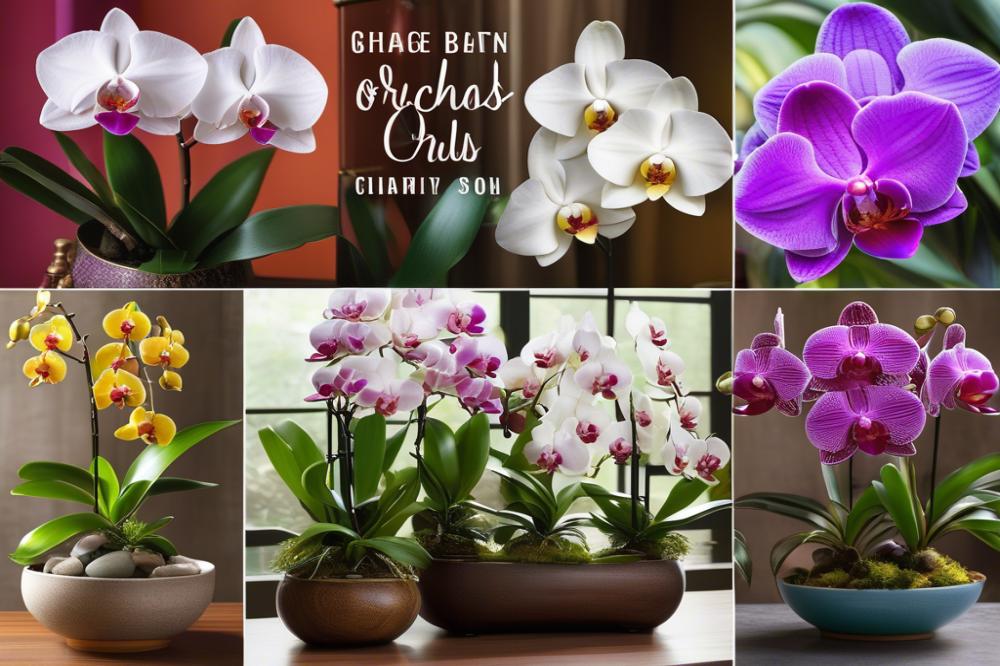
Water is vital for orchids. These plants thrive when given the right amount. Always use room temperature water. Cold water can shock the roots. Consider the type of orchid you have. Some orchid types require more water than others. For example, Phalaenopsis orchids like moist conditions. It’s best to water these about once a week. On the other hand, Cattleya orchids prefer a dryer environment.
Check the potting medium. Different orchid soil holds water differently. Bark or moss can retain moisture. Keep an eye on the humidity levels as well. Ideally, humidity for orchids should be around 40% to 60%. This balance helps them absorb water efficiently. Use a pot with drainage holes to prevent standing water. Watering orchids should always include a good drainage method.
Common Mistakes to Avoid in Watering
Many beginners make mistakes with watering. Overwatering is the most frequent error. It often leads to root rot, which can kill the plant. Don’t water on a strict schedule. Instead, check the potting material before deciding. You might discover it’s still wet. If you feel the soil and it’s damp, skip the watering.
Using tap water can sometimes be a problem. Chemicals in it can harm your orchids over time. Rainwater or distilled water is usually better. Another common mistake is not adjusting watering based on the season. During winter, plants often need less water. Understanding how to read your orchid’s needs is key to success.
Signs of Overwatering and Underwatering
Observing your orchid closely is important. Signs of overwatering include yellowing leaves. The roots may also turn brown and mushy. If you see these signs, it’s time to cut back on watering. Let the medium dry out completely before the next watering.
On the flip side, underwatering has its own signals. Leaves may become wrinkled or shriveled. Also, flower buds can drop prematurely. If you notice this, give it a good soak. Let the water run through the pot until it drains from the bottom. Remember, proper orchid fertilization is also essential during the growing season. Balancing water and nutrients allows for healthy growth.
With these tips in mind, you’ll be well on your way to nurturing your orchids with confidence. Pay attention to their unique needs and respond accordingly, and they will thrive in your indoor gardening efforts.
Fertilization and Nutrient Needs
Introduction to Orchid Fertilization
Fertilization plays a crucial role in growing healthy orchids. These beautiful plants require specific nutrients to thrive. Without proper care, they may not bloom as expected. Understanding the right balance of nutrients will help any indoor gardener achieve success.
Types of Fertilizers Suitable for Orchids
Orchids benefit from special fertilizers designed just for them. Look for a formula that includes nitrogen, phosphorus, and potassium in a balanced ratio. Liquid fertilizers are popular because they distribute nutrients evenly. Others prefer slow-release pellets, which supply nutrients over time. Organic choices exist as well, providing a more natural option for nurturing these plants. Make sure to select fertilizer that suits the orchid types in your collection.
Applying Fertilizer for Optimal Growth
Using fertilizer correctly is key to maximizing orchid growth. Generally, it’s best to apply it during the active growing season. That usually means spring and summer, when light and humidity for orchids are at their peak. Follow the instructions on the package to avoid over-fertilization. Diluting the fertilizer to half-strength can be a wise choice for beginners. It helps prevent root burn while supplying essential nutrients. Be cautious about timing; watering orchids before fertilization increases absorption and prevents shock to the plant. Regularly monitor the condition of your orchid soil, as well. Healthy orchids will respond positively, leading to vibrant blooms and lush foliage.
Maintaining Humidity for Orchids
Orchids thrive in a humid environment. Understanding humidity requirements for orchids is crucial for their health. Most orchids prefer a humidity level between 40% and 70%. Insufficient humidity can stunt growth and lead to other issues. On the other hand, too much moisture can encourage fungal diseases.
Methods to Increase Humidity Levels
There are several methods to boost humidity in your indoor gardening space. First, placing plants in a group can naturally raise the humidity. The moisture released from one plant benefits its neighbors.
Another method involves using a spray bottle. Mist your orchids regularly, especially during dry spells. Creating a routine for watering orchids is also beneficial. Keep an eye on the surrounding air; if it feels dry to you, it’s likely too dry for your orchids.
Using Humidity Trays and Humidifiers Effectively
Humidity trays can be an excellent tool for maintaining moisture levels. Fill a shallow tray with pebbles and water. Be sure the pot sits above the water line. As water evaporates, it raises humidity around your plants.
Humidifiers offer another reliable option. They work by adding moisture to the air, which can be helpful, especially in winter. When selecting a humidifier, choose a model appropriate for the size of your space. Regular checks on water levels will also keep it functioning well.
Lastly, observe how your orchids respond to the changes. Some orchid types might need more humidity than others. Adapt your methods based on their needs. With care and attention, you will foster healthy orchid growth conditions.
Managing Common Orchid Pests
Identifying Common Pests Affecting Orchids
Orchids can attract various pests that harm their beauty and health. Common orchid pests include aphids, scale, mealybugs, and spider mites. Each pest has distinct characteristics. For instance, aphids are small and often found on new growth. Scale insects appear as hard, waxy bumps on the plant’s surface. Mealybugs look like tiny cottony masses and can be hard to spot. Spider mites are less visible but leave fine webbing on the leaves. Understanding these pests is essential for maintaining healthy plants.
Prevention and Treatment Strategies for Pest Control
Preventing pest infestations is much easier than treating them. Start by keeping a clean environment around your orchids. Regularly remove dead leaves and decayed matter. Proper orchid potting techniques can also help. Healthy soil reduces the chance of pests. Watering orchids correctly is vital too; overwatering can create conditions that attract pests. If a pest problem does arise, consider using insecticidal soap or neem oil. These solutions are effective and less harmful to your plants. Always follow the directions on any treatment.
Importance of Regular Inspections
Conducting regular inspections is one of the best ways to catch infestations early. Check the leaves, stems, and roots frequently for signs of trouble. Look for discoloration, sticky residue, or webbing. Catching issues early can save your plants from serious damage. Set aside time each week to examine each orchid closely. With proper attention, you can promote healthy orchid growth conditions. In addition, familiarity with the types of orchids you have helps in understanding their specific needs. Even small changes in humidity for orchids or light can affect pest attraction. Protect your indoor gardening efforts with these proactive measures.
Wrapping Up Your Orchid Adventure
Orchids can be a rewarding addition to your home. They might seem challenging at first. Yet, understanding their needs is the first step to success. Proper orchid potting is essential for healthy roots and growth. Choosing the right mix will make a significant difference. Pay attention to watering techniques as well. Overwatering can lead to root rot, while underwatering can dry them out. It’s a delicate balance.
Providing adequate orchid lighting is crucial, too. These plants thrive in bright, indirect light. Finding the right spot in your home is a small but important task. Remember that some orchids enjoy a little sun, while others prefer shade. Each type has its preferences, so do a bit of research on your specific plant.
Starting this journey requires patience and dedication. Celebrate every new leaf and bloom along the way. The joy of cultivating these beautiful flowers indoors is worth the effort. Once you begin caring for orchids, you might find yourself falling in love. They can bring a touch of elegance to your living space.
Encouragement is essential. Don’t hesitate to dive in and experiment. You’ll likely learn through trial and error. Share your experiences with friends or join online communities. Connecting with fellow enthusiasts can make the process even more fun.
In the end, growing these stunning flowers is not just about having plants. It’s an opportunity to create something beautiful in your home. With each bloom, you’ll discover a sense of accomplishment. Embrace the challenges and relish the rewards. Happy growing!

