Introduction
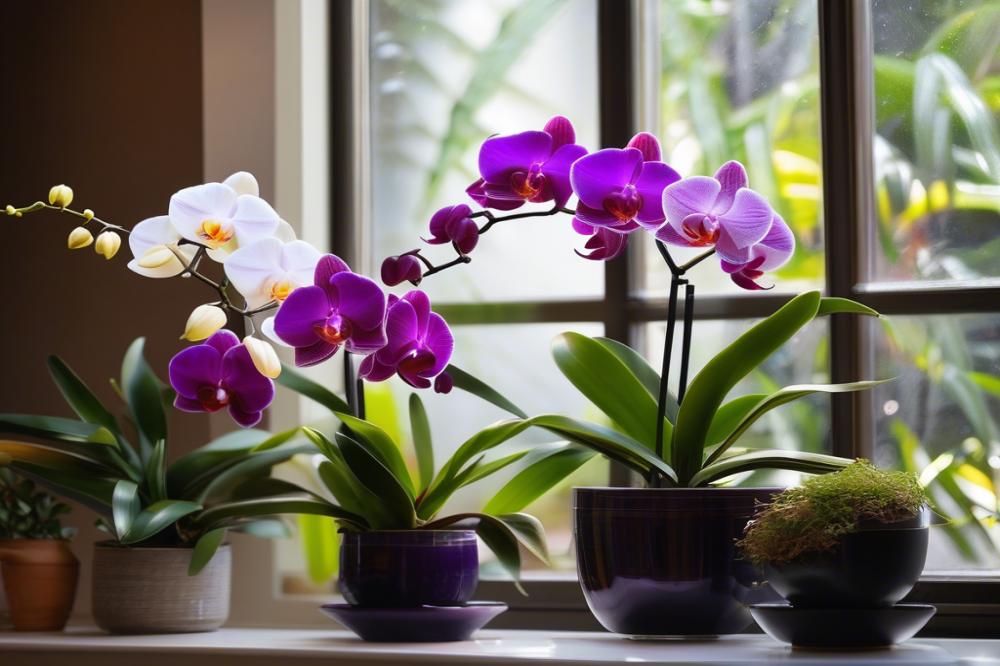
Orchids are breathtaking plants that many people admire. Caring for these beautiful flowers is essential for their growth and longevity. However, growing orchids can sometimes be tricky, leading to various issues. Those who nurture these plants may face unique challenges.
One common issue involves yellow leaves. This can indicate a variety of problems, from overwatering to insufficient nutrients. root rot is another frequent concern, often resulting from too much moisture around the roots. Growers must also be vigilant about pests that may invade their plants, causing significant damage. When it comes to foliage, leaf spots can appear for several reasons, including exposure to too much sunlight or fungal infections.
Understanding the light requirements and humidity levels necessary for different types of orchids is crucial. An imbalance in these factors can lead to poor growth or distress. For many, repotting becomes necessary as the plant matures or if the growing medium breaks down. A cycle of underwatering can further complicate matters, leading to drooping leaves and stunted growth.
This article aims to address common orchid problems. By offering practical troubleshooting tips, we hope to empower orchid enthusiasts. Whether you are a beginner or more experienced, knowing how to respond to challenges can help maintain the beauty of your orchids.
Understanding orchid care
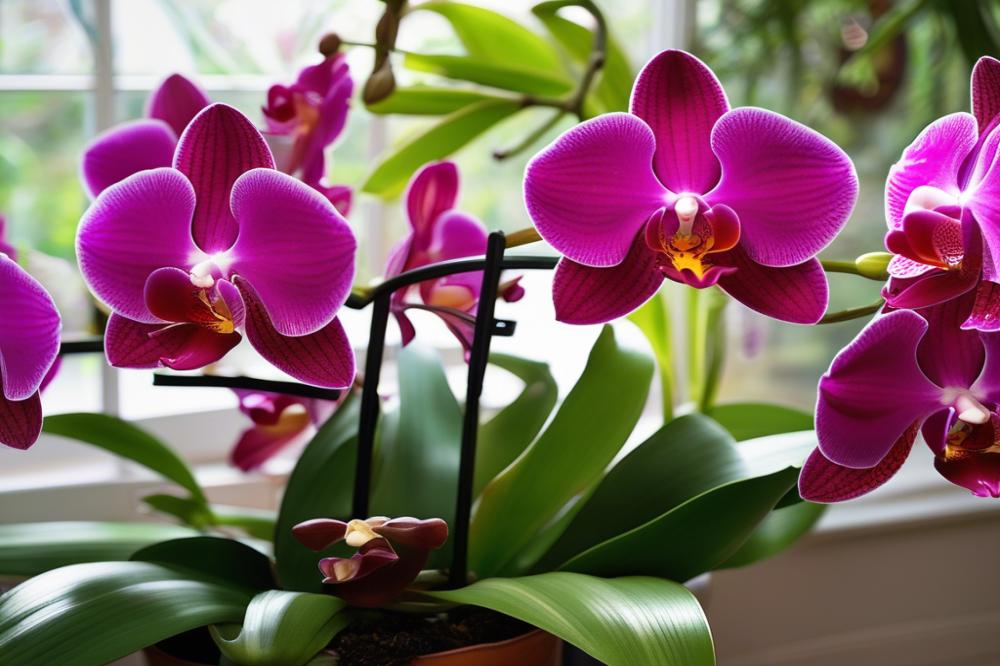

Caring for orchids can feel complicated for many. However, grasping some basics makes it easier. Each species has different needs, but a few key factors are universal. These include water, light, and air circulation. Getting this right is crucial for a healthy plant.
Basics of orchid care
Orchids thrive in environments that mimic their natural habitats. Most prefer a potting mix that allows for excellent drainage. Overwatering can lead to root rot, a common issue among new orchid owners. Signs of trouble often include yellow leaves and mushy roots. Underwatering can also harm your plant. Keeping the medium slightly damp is essential but avoid sogginess.
Importance of Proper Light Requirements
Light requirements vary by type, but most orchids enjoy bright, indirect sunlight. Direct sunlight may cause leaf burning or leaf spots, which can damage the plants. It’s important to observe your orchid’s behavior. If the leaves turn yellow or the plant exhibits stunted growth, it could be a sign of insufficient light. Adjusting its position can help restore health.
Effects of Humidity Levels on Orchids
Humidity levels play a significant role in orchid care. These plants often come from tropical regions where humidity is high. A dry atmosphere can lead to problems, including pest infestations and fungus. If the air is too dry, leaves may shrivel or have brown tips. Increasing humidity can be as simple as placing a tray of water nearby or misting the leaves periodically.
Repotting should also be a part of your care routine. Orchids often need to be moved to a larger pot every year or two. This helps avoid issues like compacted media, enabling roots to breathe and absorb moisture effectively.
By understanding light conditions and humidity levels, you set your orchids up for success. Understanding their requirements will help you notice changes early, avoiding the more severe problems that can threaten their health.
Identifying Yellow Leaves
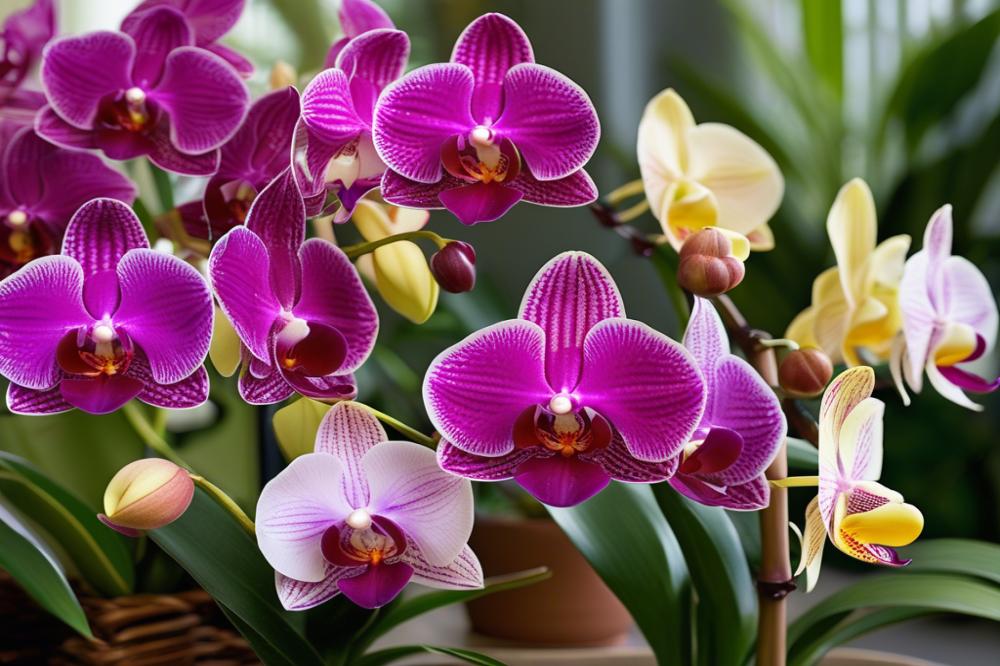

When orchid leaves turn yellow, it can be alarming. This symptom often indicates a problem that needs attention. Understanding the causes of yellow leaves can help in providing the right care.
Causes of Yellow Leaves
Many factors contribute to the yellowing of leaves. Overwatering is a common issue. Excess water can lead to root rot, which suffocates the roots and prevents them from absorbing nutrients. Underwatering also causes yellow leaves. Dry conditions can deprive the plant of essential hydration.
Pests might be to blame as well. The presence of bugs can stress an orchid, leading to discoloration. Fungus is another likely culprit. Fungal infections can create leaf spots and other symptoms, making leaves appear unhealthy. Additionally, improper light requirements can impact leaf color. Orchids need the right amount of light to thrive. Too much or too little light will show in the leaves.
Solutions for Addressing Yellow Leaves
Addressing yellow leaves involves several steps. Start by assessing your watering technique. If overwatering is the issue, allow the soil to dry out between waterings. For underwatering, establish a consistent watering schedule. Regularly check the potting medium for moisture levels.
Next, inspect for pests. Use insecticidal soap to tackle any unwanted visitors. If fungal issues arise, consider repotting the plant in fresh, sterile mix. This will help eliminate any root or fungal problems lurking in the old soil.
Light levels should also be adjusted. Ensure that the orchid receives appropriate light, adjusting its placement as necessary. Maintaining humidity levels is crucial, too. Orchids generally prefer a humidity range of 40-70%. Consider using a humidity tray if the environment is too dry. Taking these measures can help restore the health of your orchid and clear up any yellowing leaves.
Dealing with Root Rot

Signs and Symptoms of Root Rot
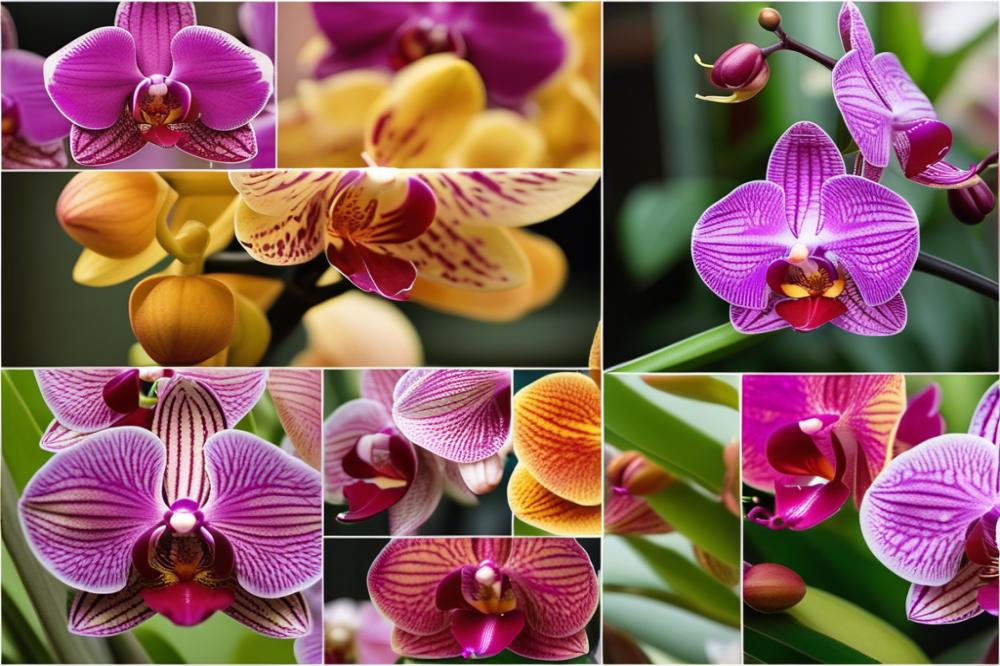
Look for yellow leaves on your orchid. They often indicate that something is wrong. Some may even fall off, leading to an unattractive plant. Dark, mushy roots are another clear sign of root rot. Healthy roots appear white and firm. You might also notice leaf spots, which can signal other issues including pests or fungus. Frequently checking your plant can help catch problems early.
Preventative Measures to Take
Avoid overwatering your orchid. This is a common error that leads to root rot. Water only when the top inch of soil feels dry. Also, ensure that the potting medium drains well. Using orchid bark or a specialized mix can help maintain proper moisture levels. Don’t forget to check the humidity levels in your home. orchids thrive in humid environments, so misting can be beneficial. A consistent light source also promotes healthy growth. Follow the light requirements for your specific orchid type.
Steps to Treat Root Rot
Start by removing the orchid from its pot. Clean the roots gently under lukewarm water. Trim away any dark, mushy roots using sterilized scissors. This step prevents further infection. After cleaning, let the remaining roots dry out for a few hours. Next, consider repotting the plant in fresh, dry potting material. It is crucial to avoid using the old mix, as it may harbor fungus. Water the orchid lightly after repotting, allowing it to adjust. Keep a close watch on it in the following weeks. If yellow leaves continue to appear, reassess your watering routine.
Managing Pests

Common pests affecting orchids
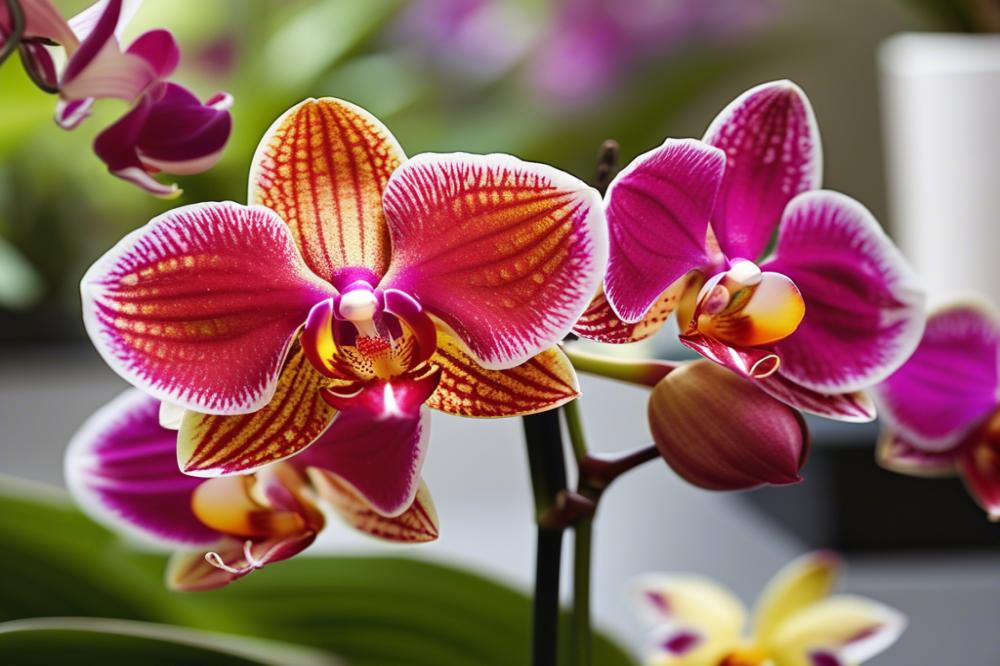
Many pests can trouble orchids, including aphids, mealybugs, spider mites, and scale. These tiny invaders often find their way into homes, lured by the beauty of these plants. They can cause various issues, from wilting leaves to poor growth. Identifying these problems early is crucial for maintaining healthy orchids.
Identification of symptoms
Symptoms of pest infestations can vary. Yellow leaves may indicate stress from bugs sucking the plant’s juices. Leaf spots are another sign, often related to issues such as fungus or pest damage. If plants appear to be losing their vigor unexpectedly, take a closer look. Sticky residues on leaves or tiny webs can suggest spider mites. When mealybugs are present, look for cotton-like masses. Early detection can make all the difference.
Effective pest control methods
Several effective methods exist for tackling pests. First, inspect your orchids regularly. If you notice any signs, act quickly. For minor infestations, washing the leaves with water can help dislodge pests. Consider using insecticidal soap or neem oil to treat more significant problems. Always follow the manufacturer’s instructions for safe application. Avoid overwatering your plants, as this can lead to root rot and make them more vulnerable to pests. Keeping proper humidity levels is important too. A balanced environment can limit pest population growth.
Sometimes, repotting is the best option if pests persist. When moving your plant to fresh soil, remove any visible pests. Ensure that the new pot has good drainage. Take care not to overwater after repotting, as this can lead to root problems. Following these tips will foster a healthy environment for your orchids.
Addressing Fungal Issues
Understanding fungi in orchids
Fungi are microorganisms that can harm your orchids. These tiny organisms thrive in moist environments, making overwatering a significant risk. While some fungi are harmless, others can lead to severe problems. Knowing when to worry about fungus is crucial. Orchids have unique vulnerabilities, owing to their delicate nature and specific care needs.
Symptoms of fungal infections
Identifying fungal infections is essential in early intervention. One common sign is yellow leaves, which indicate stress in the plant. Leaf spots can also appear, signaling potential issues beneath the surface. Roots may show signs of rot, which can be fatal if not addressed quickly. In some cases, pests can exacerbate fungal problems, further stressing your orchid. Neglecting these symptoms can lead to more extensive damage and even plant loss.
Prevention and treatment options
Preventing fungal issues starts with proper care. First, pay attention to watering habits. Overwatering is a common mistake that creates favorable conditions for fungus. Underwatering, on the other hand, can weaken the plant. Adjusting your light requirements and humidity levels will also help maintain a healthy environment.
Should you find signs of a fungal infection, treatment options are available. Consider using a fungicide specifically designed for orchids. Follow the instructions carefully to avoid further damage. Sometimes, repotting may be necessary, especially if root rot is present. Make sure to choose fresh medium to reduce the chances of re-infection. Keeping the growing environment clean is vital. By addressing these issues early, you can protect your orchid and ensure its ongoing health.
Troubleshooting Leaf Spots
Common Causes of Leaf Spots
Orchids can develop leaf spots for various reasons. One primary cause is improper watering practices. Overwatering might lead to root rot, which can stress the plant’s leaves. Underwatering, on the other hand, can cause yellow leaves and result in more significant damage. Pests are another culprit; insects can leave behind spots as they feed on leaves. In addition, unchecked fungal infections can lead to unsightly patches. Always check for distinct colors in the spots. A yellow or brown hue can signal different issues.
Differentiating Between Environmental and Disease-Related Leaf Spots
Identifying the type of leaf spot is crucial for a successful remedy. Environmental factors like light requirements and humidity levels often lead to spotting. For instance, too much direct sunlight can scorch leaves. Conversely, insufficient light might encourage fungal growth. Examine the pattern of spots. If they appear randomly, consider environmental factors. However, if clusters of dark patches emerge, a disease-related issue may be at play.
How to Treat and Prevent Leaf Spots
Treating leaf spots starts with addressing the root of the problem. If overwatering is the cause, allow the plant to dry out between waterings. Repotting can help if root rot is suspected. Always use a well-draining mix for best results. In cases of pests, act quickly. Insecticidal soap can be effective in getting rid of them. For fungal infections, applying a fungicide can reduce damage to the leaves. Prevention is equally important. Ensure your orchid is positioned in the right light. Maintain appropriate humidity levels, usually between 50% to 70%. Regularly inspecting your plant can go a long way in spotting trouble early.
When to Repot Your Orchid
Signs that Indicate the Need for Repotting
If you’re noticing yellow leaves, it could be time for a change. Root rot often occurs when an orchid is in the same pot for too long. Similarly, observe the roots; if they appear dark or mushy, repotting is necessary. Pests can also lead to stress. In this case, remove the plant from its pot to inspect for any unwanted guests. Overwatering and underwatering may cause problems, too. If the medium breaks down or doesn’t drain well, a new pot can fix this. Leaf spots could indicate a lack of light or humidity issues, but if the potting medium is old and compacted, consider repotting to improve conditions.
Steps Involved in Repotting
Start by gathering your materials. You’ll need a new pot, fresh orchid medium, and sterilized tools. Begin the process by gently removing the orchid from its old pot. Release the roots carefully to avoid damage. Trim away any dead or rotting roots you find. Once you have a healthy root system, place the orchid into the new pot. Fill it with fresh medium, making sure to position the roots so they have room to grow. Tap the pot gently to eliminate air pockets around the roots. Water lightly after repotting but do not soak the plant. Remember to give the roots time to adjust to their new home.
Proper Care After Repotting
Adjusting care techniques is crucial after repotting. Keep the orchid in lower light for a few weeks to help it settle. Monitor humidity levels to help the plant adjust to its new conditions. If you noticed any issues like fungus or pests during repotting, address them immediately. Watering should be done carefully; allow the medium to dry out slightly between waterings. This helps prevent future problems like root rot. Frequent checks will help identify any new leaf spots or changes in color. Regularly reassess light requirements, too. With good care, your orchid will thrive in its new pot.
Final Thoughts on Orchid Troubleshooting
Throughout this article, we have explored several common issues that can affect your orchids. Key points covered include the causes of yellow leaves, root rot, improper watering, and pest infestations. Addressing these problems promptly can make a significant difference in your plants’ health.
Monitoring your orchids regularly is vital. Keep an eye on their leaves, roots, and overall growth. Regular checks will help you catch issues early. Consider creating a schedule to assess their condition. Consistent care can lead to vibrant blooms and healthy plants.
For successful orchid cultivation, remember a few important tips. Always use the right potting medium and ensure proper drainage. Light levels seem to vary widely, so adjust as needed. Additionally, be mindful of temperatures and humidity, which can greatly influence your orchids’ wellbeing.
Lastly, don’t hesitate to seek advice from local gardening clubs or online communities. Many passionate growers are eager to share their experiences. With careful attention and some patience, your orchids can thrive and flourish beautifully.

