Introduction
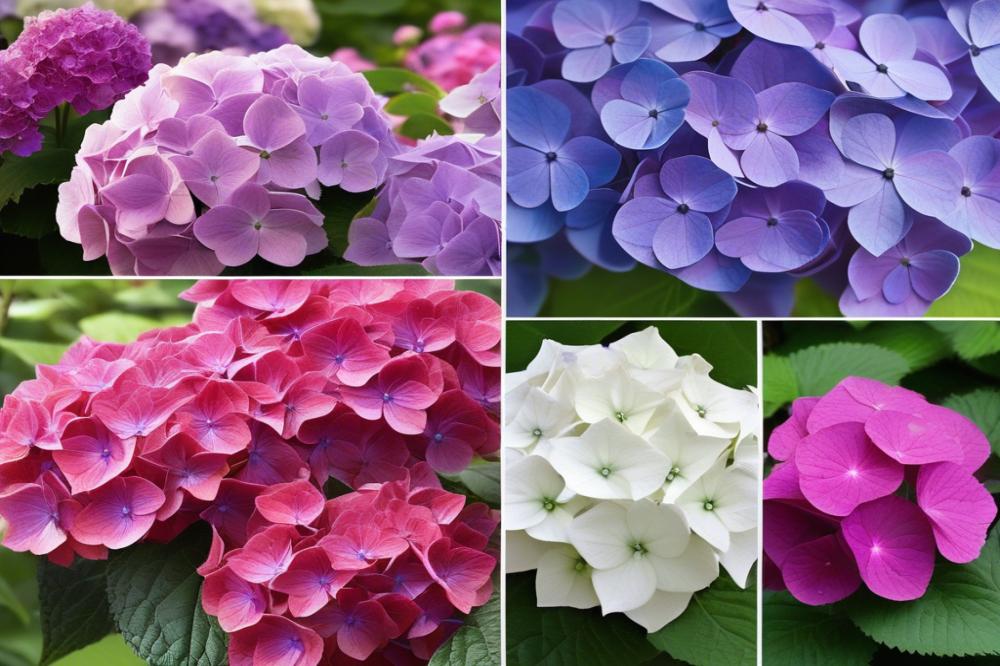
Hydrangeas stand out as some of the most admired flowering shrubs in gardens around the world. Their lush, colorful blooms can bring any outdoor space to life, creating a vibrant atmosphere. With a bit of care, these beautiful plants can be an excellent addition to your garden. However, many people often overlook the importance of propagation, which plays a crucial role in promoting even more vibrant blooms.
Starting new hydrangea plants not only enhances garden aesthetics, but it also leads to healthy growth and blooming cycles. Using cuttings from existing plants is one of the most effective methods for hydrangea propagation. Effective plant care and understanding the specific soil conditions needed for root development are essential for success.
There are several ways to propagate hydrangeas, suited to different levels of gardening experience. Seasonal propagation techniques can vary in approach and are vital for nurturing these plants. Some methods involve softwood cuttings, while others may explore the potential of layering. Watering practices also differ depending on the propagation method chosen.
In short, learning how to propagate hydrangeas empowers gardeners to cultivate a rich tapestry of blooms. It can be a rewarding experience that pays off. By following some simple garden tips, anyone can enjoy the beauty that hydrangeas bring.
How to Propagate Hydrangeas
Propagating hydrangeas is a rewarding process for any outdoor gardening enthusiast. This term refers to creating new plants from existing ones. When gardeners talk about this, they often consider methods like cuttings, layering, and division.
Different Methods
Using cuttings is one of the most popular techniques. It involves taking a healthy stem from the parent plant and placing it in soil. This method encourages root development, leading to a brand-new shrub in time. Another method is layering, which works by bending a low branch to the ground and covering part of it with soil. This allows the buried section to grow roots while still attached to the mother plant. Lastly, division entails splitting an established hydrangea into multiple sections. Each section should have roots and stems, enabling them to thrive as separate plants.
Advantages and Challenges
Each propagation method has its pros and cons. Cuttings are generally quick and straightforward; however, they need specific soil conditions and consistent watering to succeed. Layering requires patience since it may take a while for the roots to form. Instead, the division method can lead to instant results but may stress the parent plant if not done carefully. Overall, the choice of method depends on your garden tips and personal preference.
Best Time for Propagation
Timing is crucial for successful hydrangea propagation. Most gardeners prefer to conduct this in spring or early summer, as the plants are actively growing. During this period, the weather supports root output and growth. When preparing your plant care routine, consider the season. Ensure you monitor watering closely during the warmer months to support new root systems. Seasonal propagation aims to align with nature’s cycles for optimum results.
Taking Hydrangea Cuttings
Collecting cuttings from a hydrangea can be a rewarding experience. Start this process in late spring or early summer when the plant is actively growing. Look for healthy, non-flowering stems. These young stems are ideal since they root more easily. Cut a 4 to 8-inch piece with several leaves attached. Make your cut just below a node for the best results. You want to create a clean cut, which promotes better root development.
The age and condition of the parent plant are crucial. Select plants that are robust and show vibrant foliage. Avoid those that have any signs of disease or pests. Strong parent plants will provide stronger cuttings. Only take cuttings from thriving hydrangeas for the best chance of success. Remember, these cuttings will be your future flowering shrubs.
Recommended Tools for Taking Cuttings
Having the right tools is important for effective plant care. Gather a sharp pair of pruning shears. A clean cut prevents damage and reduces the risk of infection. A small container filled with water is also useful. As you collect each cutting, place it in water to keep it fresh. Finally, prepare a rooting hormone if you want to speed up root development.
You should also consider the soil conditions for planting your cuttings. A mixture that drains well but retains some moisture is ideal. Look for a blend of potting soil and perlite. This combination can help your cuttings thrive. Be attentive when specifying your watering schedule. Keeping the soil moist is essential but avoid overwatering. Excessive moisture can lead to other problems.
After you prepared your cuttings with the right tools and soil, it’s time to plant. Choose a location with indirect sunlight for the best results. Too much direct light can stress young plants. Outdoor gardening requires patience, especially for hydrangea propagation. Monitor your cuttings closely and make adjustments as needed. They will need time to root and grow strong before they can be moved. With proper care, you’re on your way to vibrant blooms.
Root Development and Soil Conditions
Optimal Conditions for Root Development
Creating the right environment for roots to establish is crucial. Hydrangea cuttings require a warm, humid setting. Temperature plays a significant role in how quickly roots can form. A location that maintains a steady warmth is ideal. Too cold, and growth will stall. Too hot, and the cuttings might dry out. Providing adequate moisture without excessive saturation is key for healthy root system growth.
Choosing the Right Soil for Hydrangea Cuttings
The type of soil you select greatly influences hydrangea propagation success. A well-draining mix is essential. You can use a combination of potting soil and perlite. This blend promotes adequate aeration while retaining necessary moisture. Avoid heavy soils that compact easily. Such conditions can suffocate young roots and hinder their development. The right soil not only supports cuttings but also encourages robust growth.
How Soil Conditions Affect Growth and Flowering
Soil quality directly impacts the overall health of flowering shrubs. Nutrient-rich soil fosters strong growth and vibrant blooms. Conversely, poor soil can lead to weak plants with lackluster flowers. Paying attention to pH is also important. Hydrangeas prefer slightly acidic soil for optimal blooming. If their soil is too alkaline, you may notice fewer flowers or even leaf discoloration. Regular testing and adjustments should be part of your plant care routine.
Tips for Improving Soil Quality for Propagation
Enhancing soil quality will benefit your cuttings immensely. Incorporating organic matter can boost nutrient levels. Compost is an excellent addition. It enriches the soil and helps retain moisture. Additionally, consider mixing in some coarse sand or gravel. This will promote better drainage and root spread. Regular watering is crucial after planting your cuttings. Maintaining a consistent moisture level prevents stress on developing plants. Always look for signs of root health, such as firm cuttings, showing that your garden tips are on point.
Watering and Care for Propagated Hydrangeas
Watering Techniques for Young Cuttings
Caring for your hydrangea cuttings involves proper watering techniques. Young cuttings require consistent moisture but not soaking wet conditions. A gentle misting can promote humidity, especially in the early days. Use a spray bottle or a fine watering can to avoid disturbing the delicate roots. Keep the soil evenly moist. A simple test is to stick your finger about an inch into the soil. If it feels dry, it’s time for a drink.
Signs of Overwatering and Underwatering
Watch for signs to avoid common watering mistakes. Yellowing leaves might indicate overwatering, which can lead to root rot. Conversely, wilting leaves can signal underwatering. Catch these signs early for healthy root development. Pay attention to the soil; it should feel damp but not flooded. Adjust your watering schedule based on the time of year and environment.
General Plant Care Tips for Thriving Hydrangeas
Hydrangeas thrive with attention to detail. When caring for these flowering shrubs, consider their light needs. They prefer bright, indirect sunlight, particularly in the early stages. Fertilizing is essential, but do so sparingly; too much can harm delicate cuttings. Pruning can also promote growth but should be done only after the cuttings establish themselves well. Garden tips specific to each season can enhance overall health.
Importance of Monitoring Humidity and Temperature
Humidity and temperature are key factors in successful hydrangea propagation. Maintaining a warm environment encourages growth, ideally around 70°F to 80°F. If it’s too hot, the cuttings may dry out. Use a humidity dome if you’re propagating indoors. This creates a microclimate, helping to maintain consistent moisture. Outdoor gardening enthusiasts should watch for seasonal changes, adjusting care as needed. Knowing how to create the right soil conditions will also significantly influence your success.
Transplanting and Caring for Newly Rooted Hydrangeas
When to transplant rooted cuttings to the garden
Rooted cuttings typically can be moved outdoors after about 6 to 8 weeks. Look for a good root system before you consider transplanting. Ideally, do this in spring or early fall. These times promote faster establishment in the garden. Choose a day when temperatures are mild. Young plants are sensitive to extreme weather conditions.
Tips for acclimating young plants to outdoor conditions
Start by placing the cuttings outside for just a couple of hours daily. Gradually increase their exposure to sunlight over one to two weeks. This process, called hardening off, helps prevent shock. Monitor soil moisture closely during this period. Protect the young plants from harsh winds and direct sunlight until they adapt fully.
Follow-up care to ensure healthy growth and blooms
Maintain consistent watering as the plants transition. Hydrangeas thrive in moist soil but never soggy conditions. Regularly check for pests and diseases, especially in the early stages. Fertilize your growing hydrangeas a few weeks after transplanting. A balanced fertilizer can support strong root development and vibrant blooms in the growing season.
Garden tips for maintenance of hydrangea shrubs
Choose the right location in your garden for your hydrangeas. Partial shade to full sun can work, but good soil conditions are critical. Mulching around the base helps retain moisture and suppress weeds. During the blooming season, keep an eye on flower health. Prune dead or damaged stems to promote growth. Lastly, ensure you clean up fallen leaves to prevent pests and diseases from returning.
Final Thoughts on Hydrangea Propagation
Propagating hydrangeas is vital for those seeking vibrant blooms in their gardens. This technique allows you to expand your collection and share beautiful plants with friends. Every successful propagation enriches your garden with fresh color and life. Enjoying the sight of new blooms isn’t just rewarding; it creates a stronger connection to nature.
Don’t hesitate to try your hand at this rewarding process. With patience and a little care, anyone can create lush, blooming hydrangeas. The satisfaction of watching your plants thrive will encourage you to explore more about plant care. Each successful attempt brings a sense of pride and accomplishment, helping you grow as a gardener.
Gardening is about more than just plants; it’s also a journey of discovery and joy. The act of nurturing new life can be incredibly fulfilling. As you engage in hydrangea propagation, remember that each bloom represents your hard work and dedication. Share your experiences with others, and let your garden be a source of beauty for everyone around you.