Introduction
Growing perennial flowers brings beauty and life to any garden. Many gardeners appreciate them not just for their aesthetics but also for their ability to return year after year. Propagating these flowers is essential for maintaining vibrant gardens with a variety of colors and fragrances. Healthy propagation techniques can lead to robust plants that thrive and bloom with spectacular displays.
Choosing the right propagation method is critical. For instance, plant division is excellent for many perennial species. This technique allows gardeners to create new plants directly from established ones. Additionally, seed starting can introduce exciting varieties into your garden, expanding your collection significantly. Exploring cuttings can also be worthwhile. These small sections of the plant can grow into healthy new ones if treated correctly.
There are several approaches to consider. Techniques such as layering and root cuttings serve as effective ways to replicate your favorite flowers. Understanding soil requirements is vital for successful growth. Seasonal timing plays a big role too, as some methods are best done in spring or fall. Once new plants are ready, transplanting them into the garden becomes necessary for their continued success.
In this article, we will cover various perennial propagation methods. Each method has its own benefits and challenges. Proper flower care and knowledge of specific gardening techniques will increase your chances of flourishing plants. Get ready to enrich your gardening experience with insights into propagating perennial flowers!
Understanding propagating perennial flowers
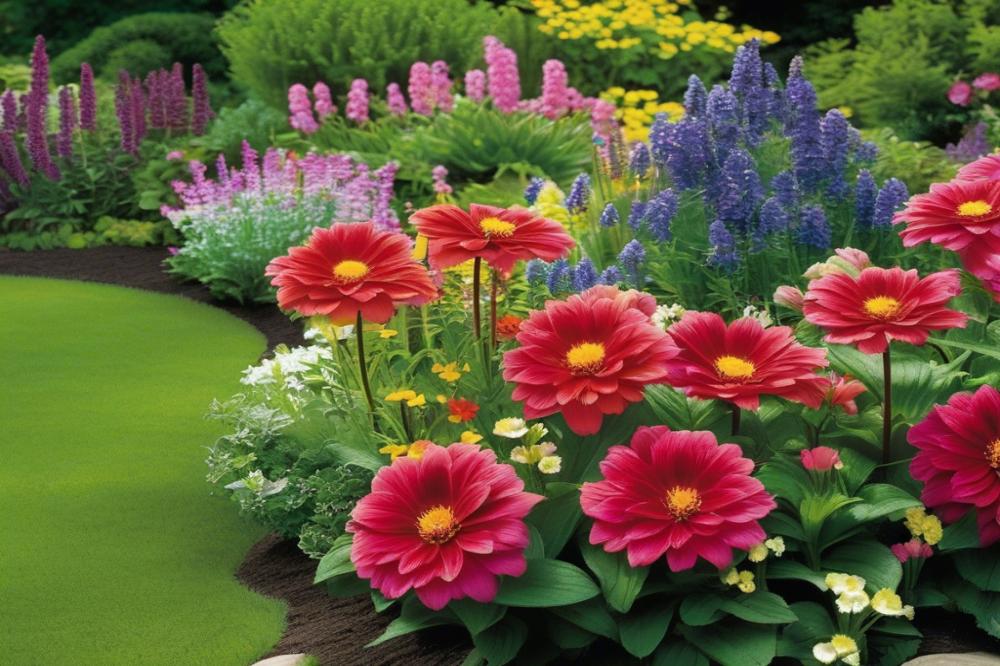

Perennial flowers are plants that live for more than two years. They bloom regularly, adding beauty to gardens year after year. Understanding their life cycle is vital for any gardener. This plant behavior sets them apart from annuals, which die after one season.
Why should someone consider propagating these lovely plants? First, it can save money. Buying new plants can be costly, and maintaining your existing ones is more budget-friendly. Additionally, sharing your plants with friends or neighbors fosters community. Imagine gifting a friend a piece of your garden!
Getting started involves basic gardening techniques. plant division is a popular method, where you separate a larger root ball into smaller sections. This process encourages new growth. seed starting is another option. Timing is crucial; seeds often need specific seasons to sprout well and flourish. You might also use cuttings. This technique involves snipping a portion of the plant and encouraging roots to form.
Layering allows a gardener to bury part of a stem, promoting it to root while still attached to the parent plant. It’s another way to generate new plants without spending a penny. Root cuttings are also effective. This method uses sections of the plant’s roots to produce new growth. All these techniques can benefit from a careful understanding of soil requirements. Good quality soil provides essential nutrients for your plants’ health.
Pay attention to seasonal timing. Winter and spring may be ideal for certain methods, while summer’s warmth can assist others. After propagating, transplanting becomes necessary. Move your new plants into their final spots with care. Regular flower care should follow to help them thrive.
Plant Division
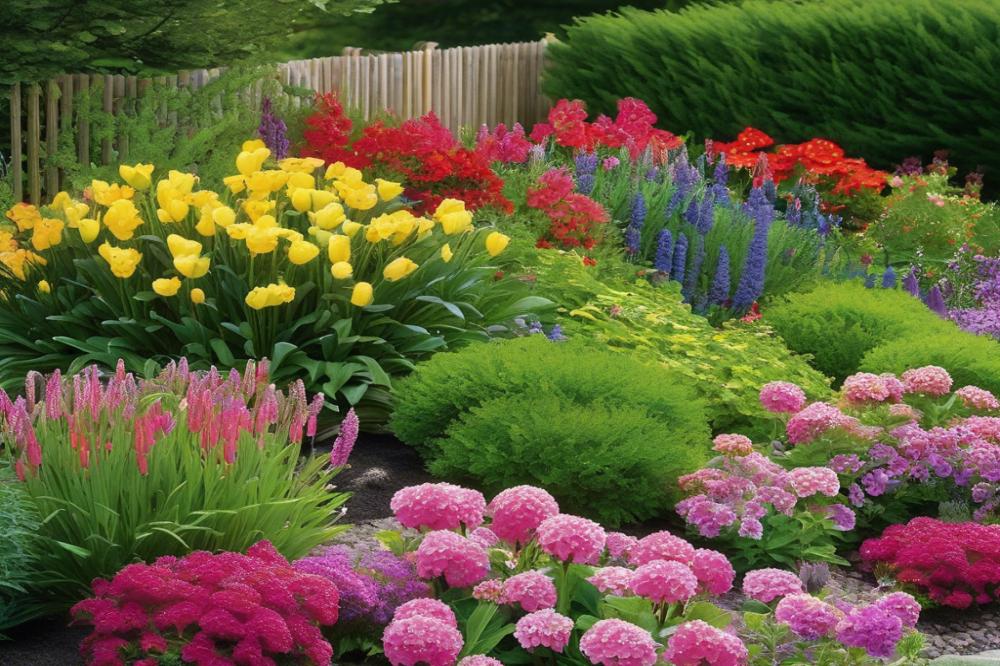

Plant division is a popular method for propagating perennial flowers. It involves taking a mature plant and carefully separating it into smaller sections, each with roots and foliage. This technique helps rejuvenate the parent plant and provides new plants for your garden. It’s a simple yet effective method that every gardener should know.
Best Practices for Dividing Perennials
When dividing perennials, timing and technique are key. Start by selecting healthy plants that are well-established. Using a spade or garden fork, gently lift the plant from the soil. Be cautious to avoid damaging the roots. After that, use your hands or a sharp knife to separate the clumps. Each division should have roots and at least one growing shoot. This will give the new plants a better chance for survival. Don’t forget to replant the divisions immediately, as they can dry out quickly.
Seasonal Timing for Plant Division
Timing is essential when it comes to plant division. The best time to divide perennials is in early spring or late summer. In spring, plants are just starting to grow, and you can see where to make divisions. Late summer works well too, as long as it’s before the first frost. Choosing the right time helps ensure a successful transplantation and establishes strong roots for the new plants.
Soil Requirements for Successful Establishment
Soil quality plays a significant role in the establishment of divided perennials. Well-draining soil is crucial; it helps prevent root rot. Mixing organic matter, like compost, into the soil can boost nutrient content. Aim for a pH balance that suits the specific type of flower you’re growing. Providing the right soil environment will promote healthy growth and enhance flower care.
Seed Starting
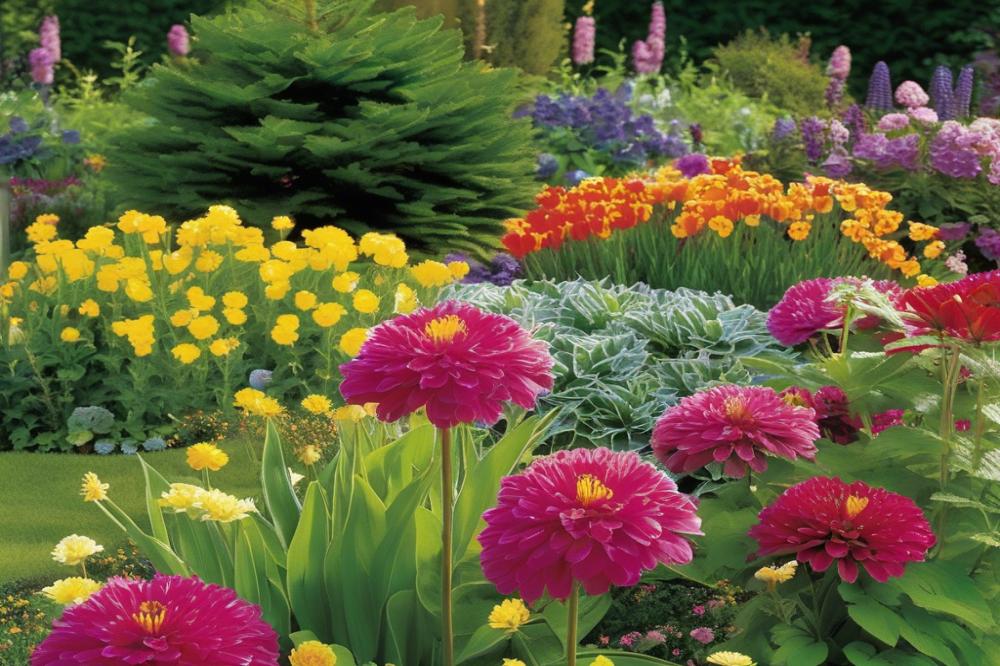

Starting seeds is an exciting way to cultivate perennial flowers. It’s a rewarding process that takes patience and care. Many gardeners find joy in seeing tiny seeds grow into vibrant blooms. Understanding the basics of seed starting is essential for success. Various methods exist, but today we will focus on the seed starting technique.
Techniques for Collecting and Preparing Seeds
Harvesting seeds from mature flowers is the first step. Wait until blooms fade and seed pods dry out. Gently collect the pods or seeds, taking care not to damage them. After gathering, clean the seeds and let them dry completely. Use paper or cloth to catch any debris. This preparation maximizes germination rates.
Optimal Growing Conditions and Soil Requirements
Seed starting requires specific conditions to thrive. A heated seed mat can help maintain warmth. Use sterile potting soil that drains well. This type of soil is crucial for healthy root development. Creating a humid environment supports germination too. Consider using a clear plastic cover or a greenhouse. Make sure to provide enough light, as seedlings need it to grow strong.
Seasonal Timing for Seed Starting
Timing when to start seeds is key. Generally, most perennial seeds are started indoors 8 to 12 weeks before the last frost. Pay attention to the specific flowers you wish to grow. Transplant them outdoors only after the risk of frost has passed. Observing seasonal changes helps determine the best start times for various species.
Gardening techniques like direct sowing can also be effective for some plants. However, starting seeds indoors often allows for an earlier bloom. Knowing when to plant improves flower care in the long run. Ultimately, successful seed starting leads to a rewarding garden full of life.
Cuttings
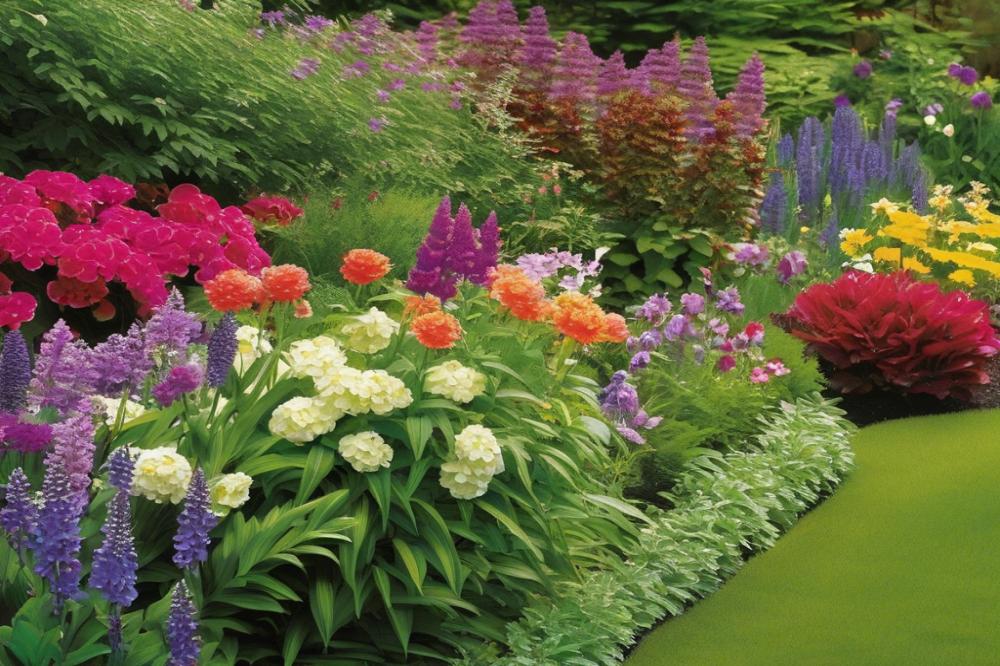

Types of Cuttings: Stem, Leaf, and Root
Cuttings are a popular method for growing new plants. Three main types exist: stem, leaf, and root cuttings. Stem cuttings involve taking a portion of the stem from a healthy plant. Leaf cuttings use just a single leaf or part of a leaf. Root cuttings require sections of the root. Each type has its own advantages and challenges.
Step-by-Step Guide for Taking Cuttings
Start by selecting a healthy parent plant. Choose a branch or leaf that looks strong and vibrant. Using clean, sharp scissors, make a cut just below a node. The node is where leaves connect to the stem. For leaf cuttings, remove the leaf gently. If you are using root cuttings, dig carefully to minimize damage. After you take the cutting, remove any excess leaves. This will help the cutting focus on root development.
Best Practices for Rooting Cuttings
Once you have your cuttings, it is time for rooting. Dip the cut end of the stem or leaf in rooting hormone if desired. This can help stimulate root growth. Place your cutting in a container filled with moist potting soil. Keep the soil consistently damp but not soggy. Cover the cutting with a plastic bag or a clear plastic dome. This creates humidity, which is essential for rooting. Check regularly for moisture. If you see signs of growth, you are on the right path.
Soil Requirements and Care After Transplanting
After roots have formed, it’s time for transplanting. Select a well-draining soil mix to promote healthy growth. Incorporate organic matter for added nutrients. Be gentle when moving the cutting to its new home. Water the plant immediately after transplanting. Provide it with bright, indirect sunlight. Monitor the moisture levels closely for the first few weeks. Gradually reduce humidity as the plant adjusts to its new environment. Proper flower care will help your new plants thrive.
Layering
Layering is a method often used in gardening. This technique involves bending a stem of a plant to the ground and allowing it to grow roots while still attached to the parent plant. It may sound simple, but this approach has unique advantages for certain perennial species. Many plants thrive when propagated this way because they can draw nutrients from the parent until they are ready to stand alone.
Benefits of Layering for Certain Perennial Species
Some perennials respond remarkably well to layering. Plants like honeysuckle and certain types of clematis can produce new growth quickly using this method. The success rate tends to be higher compared to other methods like plant division or seed starting. Moreover, since the new plant remains connected during rooting, it benefits from the established plant’s water and nutrition. This means, especially in tougher conditions, the layered plants have a better chance of survival.
Techniques: Simple, Serpentine, and Trench Layering
Different techniques exist to suit various plant types. Simple layering involves bending a flexible stem to the ground and covering part of it with soil. Only part of the stem remains exposed, making it a straightforward option for many gardeners. Serpentine layering can be a bit more complex. In this technique, several parts of a long, flexible stem are buried at intervals, creating multiple new plants from one stem. Trench layering works similarly but is done in a trench filled with soil. This method is often used for plants that produce runners.
Timing and Care for Layered Plants
Seasonal timing plays a crucial role in the success of layering. Spring or early summer usually offers the best conditions. During this time, plants are actively growing, so layers root more easily. Once the new plants develop sufficient roots, they can be gently separated from the parent plant. Care is important here; regular watering and appropriate light conditions promote healthy growth. After transplanting, continue monitoring for any signs of stress. Proper flower care is essential in these early stages to foster strong roots and growth.
Root Cuttings
Root cuttings serve as a reliable and effective method for propagating perennial flowers. This technique involves taking a piece of a plant’s root and encouraging it to grow into a new plant. It is especially beneficial because it allows gardeners to replicate their favorite plants without starting from seeds. When done correctly, root cuttings can produce healthy and robust blooms in a shorter timeframe compared to other methods.
Best Perennial Candidates for Root Cuttings
Several perennial plants respond well to root cuttings. Some of the best candidates include various types of phlox, bee balm, and black-eyed Susans. In addition, many types of asters and daylilies can thrive when propagated this way. Choosing the right plants increases the chances of successful propagation. Flowers that have fleshy roots or have a vigorous growth habit are often the best choices.
Techniques for Taking and Planting Root Cuttings
Timing is crucial when taking root cuttings. Early spring or late fall typically works best for many perennials. Start by locating a healthy parent plant. Dig around its base carefully and expose the roots. Select roots that are around four to six inches long and cut them into sections. Each piece should have a few inches of length. When planting, bury the cuttings in soil, ensuring that the top tip is just below the surface. Water the area gently to avoid displacing them.
Soil Requirements and Maintenance
Root cuttings thrive in well-draining soil rich in organic matter. A mixture of potting soil and compost usually provides the best foundation. Drainage helps prevent rot, which can be lethal to young plants. Regular monitoring of moisture levels is necessary. While the cuttings are establishing roots, keeping the soil consistently moist but not soggy is key. As new growth begins to appear, reduce watering slightly. Seasonal timing is critical, along with careful flower care to promote health during their early stages.
Seasonal Timing for Propagation
Grasping the significance of seasonal timing is essential for successful flower care. Each plant type has its own schedule. Knowing when to propagate can make a big difference in whether your efforts succeed or not.
Best Times for Each Propagation Method
Plant division is often best done in spring or early fall. This timing helps the roots settle before the extreme temperatures of summer or winter arrive. For seed starting, early spring is ideal. The warmer temperatures promote germination.
When using cuttings, late spring or early summer serves well for many species. During this time, plants are actively growing. Layering can be done in late spring or early summer as well. This method takes advantage of the season’s vigor.
Root cuttings should be collected in late winter or early spring. In this dormant period, the plants can expend energy on new growth once the ground warms. Transplanting works best in early spring or early fall. This allows plants to adapt with minimal stress.
Understanding Plant Dormancy and Growth Cycles
Recognizing the dormancy and growth cycles of perennials is critical. Dormancy acts as a protective mechanism against harsh weather. During this time, plants conserve resources. Thus, performing propagation methods at the wrong time can hinder their development.
As plants awaken in spring, growth begins anew. New foliage emerges, and energy levels rise. Matching your gardening techniques to these cycles leads to stronger and healthier plants. Additionally, understanding soil requirements and moisture levels becomes easier when you know when each plant thrives.
Being aware of these cycles empowers any gardener. It builds confidence and increases the chances of successful propagation. Timing is not merely a guideline; it’s a fundamental principle in growing beautiful perennial flowers.
Transplanting Perennials
Transplanting newly propagated perennials requires careful attention to detail. Start by selecting the right time for this process. Seasonal timing plays a crucial role; spring and fall are the best options. During these periods, the plant is more likely to succeed because the weather is typically milder.
Before digging up your plant, check the soil requirements. Well-drained, rich soil is ideal for most perennials. If your soil lacks nutrients, consider incorporating organic matter. This practice can improve the overall health of your flowers. Also, ensure that the new site has similar light conditions to the original spot.
When you begin the transplanting process, be gentle. Use a spade to carefully dig around the root zone, ensuring you retain as many roots as possible. If you’re handling plant division, separate the crowns with care. Each division should have sufficient roots and stems to thrive in its new location.
After placing the perennials in the ground, water them thoroughly. This helps settle the soil around the roots. Adjust the depth of the plant if necessary, making sure that the crown is at soil level. This step is essential for flower care.
Applying mulch after planting can protect the soil moisture. It also helps suppress weeds, allowing new plants to establish a strong foundation. Monitor the soil moisture regularly; it should be kept consistently damp but not soggy. Effective gardening techniques involve finding that balance.
Finally, be patient. Give your perennials time to adjust to their new homes. With proper care, they will flourish in the coming seasons. Overall, success depends on how well you prepare before transplanting and how attentively you care for the plants afterward.
Flower Care After Propagation
Young perennial plants need careful attention after propagation. Proper care will help them thrive and grow into beautiful flowers. Watching these plants develop can be rewarding.
Essential Care Practices for Young Perennial Plants
First, consider the soil requirements. Healthy soil can make a big difference. It should drain well but also retain moisture. This allows roots to access the water they need.
During the early stages of growth, plants require adequate sunlight. Place seedlings or newly divided plants in a space where they can receive at least six hours of light each day. This habit encourages strong growth and vibrant blooms.
Importance of Watering, Mulching, and Fertilizing
Watering is essential. Newly propagated plants typically need consistent moisture. However, be careful not to overwater. Wilting or yellowing leaves can signal too much water.
Mulching plays a vital role too. Adding a layer of organic material helps to maintain soil temperature and moisture. Additionally, it keeps weeds at bay, allowing young plants to focus on growth.
Fertilization is beneficial, but timing matters. Once plants establish roots, a balanced fertilizer can support their growth. Choose products that release nutrients slowly for continuous feeding.
Managing Pests and Diseases in Young Perennials
Pest management should be on every gardener’s mind. Young perennials are more vulnerable to insect damage. Regularly inspect plants for signs of trouble, such as discolored leaves or chewed edges.
Diseases can also affect tender plants. Proper air circulation around your seedlings can prevent many common issues. Avoid crowding plants when transplanting. This spacing will help them stay healthy.
Embrace different gardening techniques to protect your plants. Companion planting can deter pests naturally while attracting helpful insects. Observing your garden frequently will help you catch problems early.
Wrapping Up Your Gardening Journey
In summary, several effective methods exist for spreading perennial flowers. Techniques like plant division and seed starting offer gardeners versatile ways to produce beautiful blooms. Each method has its own advantages, whether it’s the quick results of division or the enjoyment of nurturing seedlings from seeds. These approaches can vastly change the landscape of your garden.
Don’t hesitate to experiment with these propagation techniques. Trying different methods can be a rewarding way to discover what works best for your specific plants and conditions. Whether you’re a seasoned gardener or just starting out, learning through hands-on experience can be fun and educational.
The satisfaction of watching your garden flourish is worth the effort. Attention to each stage of the process will lead to greater success. With patience and care, you can create a vibrant perennial garden that brings joy for years to come. Embrace the journey and enjoy every moment spent in your garden!

