Introduction
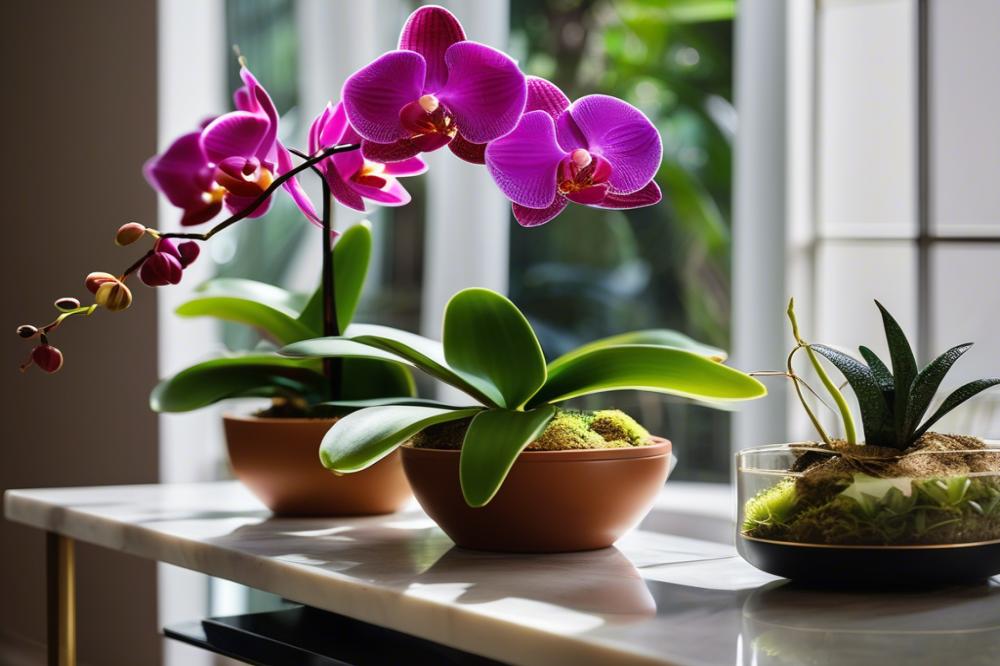
Orchids have become a beloved choice in indoor gardening. Their stunning beauty and diverse colors capture the hearts of many plant enthusiasts. With thousands of species available, these flowers bring elegance to homes and offices alike. Caring for orchids can be a rewarding experience, but sometimes, it can be overwhelming for newcomers. That’s where understanding plant propagation comes in.
Expanding your collection not only brings joy but also plays a vital role in maintaining plant health. Healthy plants thrive better, grow stronger, and can show off their flowers for much longer. Among the various ways to grow more orchids, utilizing Keikis and Orchid Cuttings provide excellent opportunities. When done properly, these methods can lead to successful outcomes.
This article focuses on how to Propagate Orchids from cuttings and Keikis. Both approaches are effective and appropriate for several types, including the popular Phalaenopsis. With simple techniques, anyone can enhance their experience in growing orchids while ensuring vibrant orchid roots and foliage. Let’s dive into the world of propagation methods and discover how to create more beautiful orchids.
Understanding Orchids and Their Life Cycle
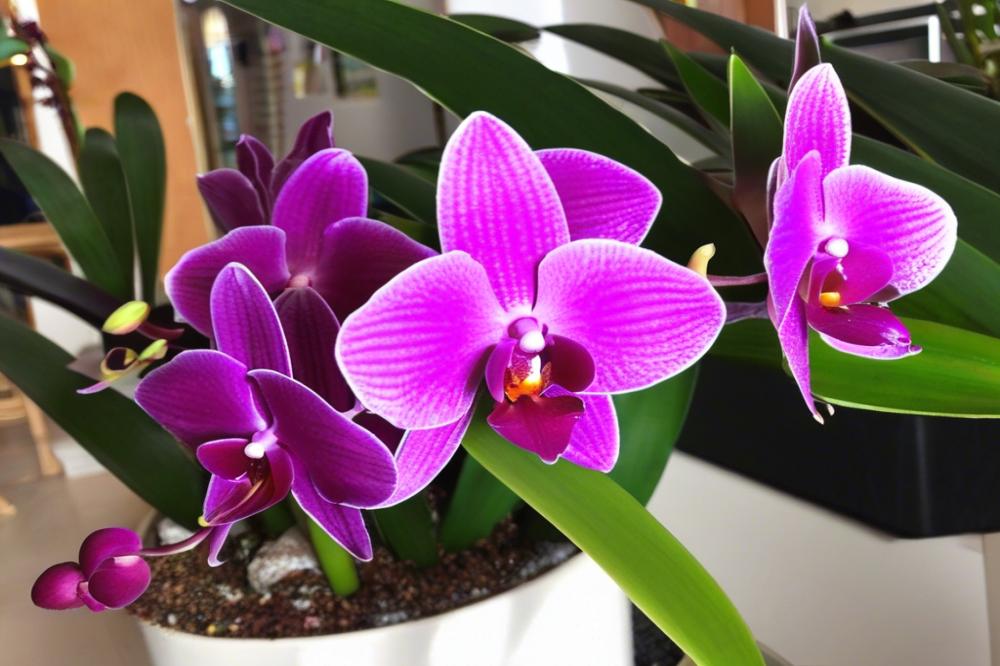

Orchids are among the most diverse groups of flowering plants. They come in many varieties, with Phalaenopsis standing out as one of the most popular among indoor gardening enthusiasts. Known for their beautiful, flat flowers that can last for weeks, Phalaenopsis often serve as a great entry point into the orchid world. Beyond this variety, orchids can differ vastly in color, shape, and growing habits.
The life cycle of an orchid is fascinating. It begins with a seed, which is extremely small and relies on a specific fungus to germinate. Once it sprouts, it transitions into a young plant with delicate orchid roots. As it grows, care becomes essential to promote healthy development. Mature orchids enter a flowering stage, dazzling onlookers with their blooms. However, life continues. After flowering, an orchid can rebloom if given the correct care and conditions.
The Role of Keikis in Natural Propagation
Keikis play a crucial part in the orchid’s reproductive process. These little offshoots, which form on the flower spikes, are clones of the parent plant. Growing keikis allows for a simple method of plant propagation. They rely on the strong base of the mother plant until they develop their roots. This process not only helps in replicating the original plant but also ensures genetic consistency.
To promote plant health, understanding Orchid Care is vital. Providing the right orchid medium, such as bark chips or moss, can make a big difference in their growth. Keikis can be taken from a healthy mature orchid when they reach a few inches in height. This method guarantees a higher success rate for rooting. Keep in mind that patience is key, as developing keikis can take time.
In summary, orchids like Phalaenopsis not only beautify homes but also offer intriguing opportunities for plant propagation. With knowledge of their life cycle and the role of keikis, any enthusiast can easily venture into this rewarding hobby. By following proper techniques and understanding their needs, you can enjoy thriving orchids for years to come.
Propagation Methods
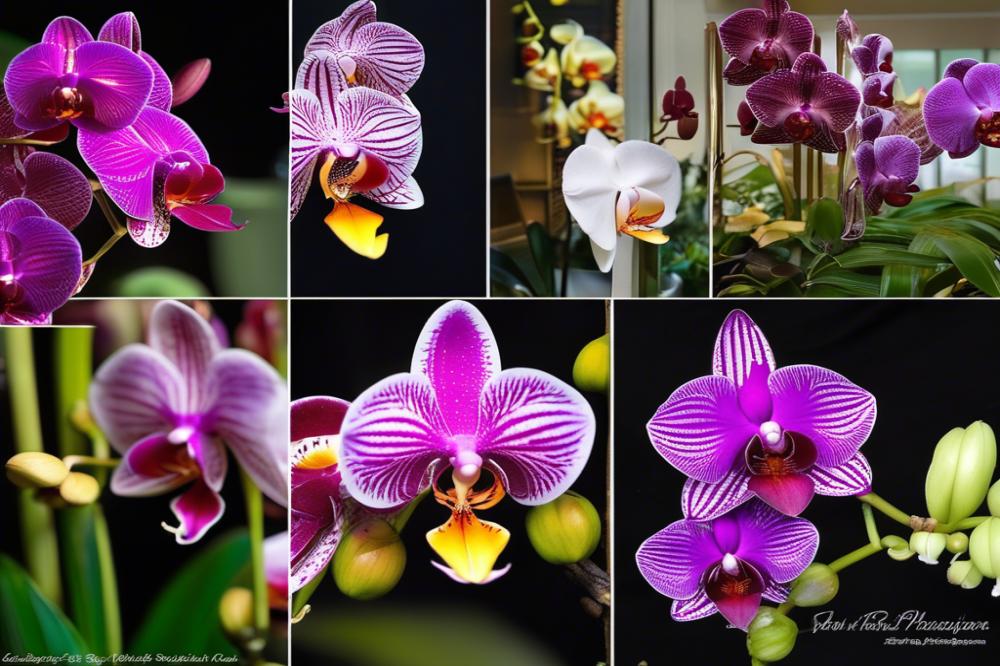

When it comes to reproducing orchids, several methods exist. Two popular techniques among indoor gardening enthusiasts are cuttings and keikis. Understanding these methods will help you decide which option suits your needs best.
Cuttings
Cuttings involve taking a portion of the orchid plant to grow a new one. With Phalaenopsis orchids, you can take a healthy stem and cut it just below a node. Then, place this cutting into a suitable orchid medium, like sphagnum moss or a bark mix. Keep the cutting warm and moist. The key lies in caring for the cutting diligently until it establishes roots.
There are advantages to using this method. First, you can create several new plants from a single orchid. However, cuttings can be tricky. Not all species root well from cuttings. Success often hinges on the proper technique and care.
Keikis
Keikis are small clones that grow directly from an orchid’s stem. Like miniature versions of the parent plant, they can be separated and treated as new plants. The best part? Keikis often have their own orchid roots already developed. Utilizing keikis is usually simpler and tends to guarantee a higher success rate.
Plant propagation through keikis promotes healthier and more robust plants. Because they are already connected to the parent plant, they have a ready source of nutrients. However, finding keikis can take time and patience. They don’t always appear on every orchid. Additionally, not all orchids produce them, so options may be limited.
Comparing the Methods
When evaluating the two methods, think about your goals. Cutting propagation offers more possibilities for experimentation. At the same time, keikis provide a more reliable option for those focused on plant health. The choice between these options depends on your preference for ease versus variety.
Overall, both methods can be rewarding. Knowing about the differences can guide you in growing orchids effectively. Explore which method aligns with your gardening style and begin your Orchid Care journey. Growing orchids can be immensely gratifying!
How to Propagate Orchids from Cuttings
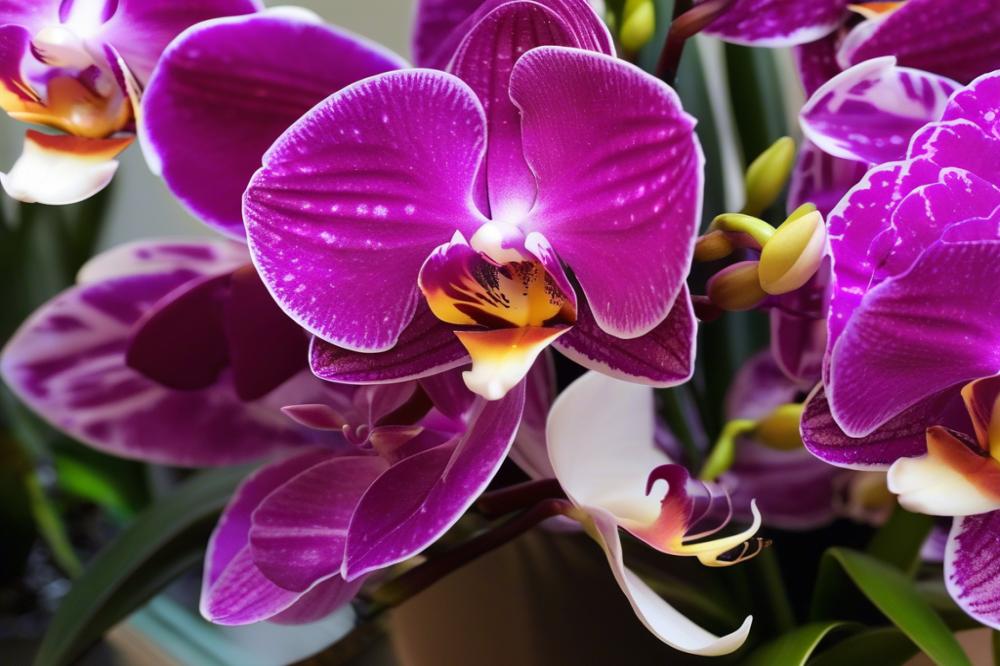

Step-by-step guide to taking and preparing Orchid Cuttings
Taking cuttings from orchids can be a rewarding experience. Begin by selecting a healthy Phalaenopsis orchid. Look for a stem with at least two nodes. Nodes are small bumps on the stem where roots or leaves can grow. Use a sterile sharp knife or scissors to make a clean cut just below a node. Take care not to damage the plant. After cutting, dust the end of the stem with rooting hormone. This powder encourages quicker root growth.
Next, it’s time to prepare the cutting for planting. Place the cutting in a container filled with moist orchid medium. Some people use sphagnum moss or a bark mix. Both options provide excellent drainage. Ensure the cuttings are upright, so they don’t fall over. Mist the cutting lightly with water to keep the medium moist without soaking it. Cover the container with a clear plastic bag or a humidity dome. This helps create a warm, humid environment crucial for growth.
Essential tools and materials needed for cutting propagation
For a successful propagation journey, gather some essential tools. A sterilized cutting tool is a must. You can use scissors or a razor knife. Pair it with rooting hormone to promote healthy orchid roots. Having a clean container for the cuttings is also important. Small pots or plastic cups work well. Prepare your choice of orchid medium, choosing between bark or moss.
Lastly, keep a spray bottle handy. This will help you maintain humidity around your cuttings. A plastic bag or humidity dome can also be beneficial. These tools make the process easier and increase your chances of success.
Best practices for encouraging root growth from cuttings
Creating the right environment is key to successful plant propagation. Firstly, maintain consistent humidity. If you notice the medium drying out, mist it lightly. This will prevent the cutting from wilting. Provide indirect sunlight, avoiding harsh rays. Too much sunlight can scorch tender leaves.
In addition, be patient. It can take several weeks for roots to form. During this time, monitor your cutting for any signs of distress. If you see yellowing leaves, it might be a clue that something is wrong. Consider adjusting light or humidity levels. Once roots begin to grow, ensure you don’t overwater. Healthy roots promote strong growth.
Lastly, once your orchid cuttings have established roots, carefully transition them to a larger pot. This is your chance to continue the journey of growing orchids. With the right care, you will witness not just survival but flourishing plants. Remember, effective orchid care is all about understanding their needs.
How to Propagate Keikis
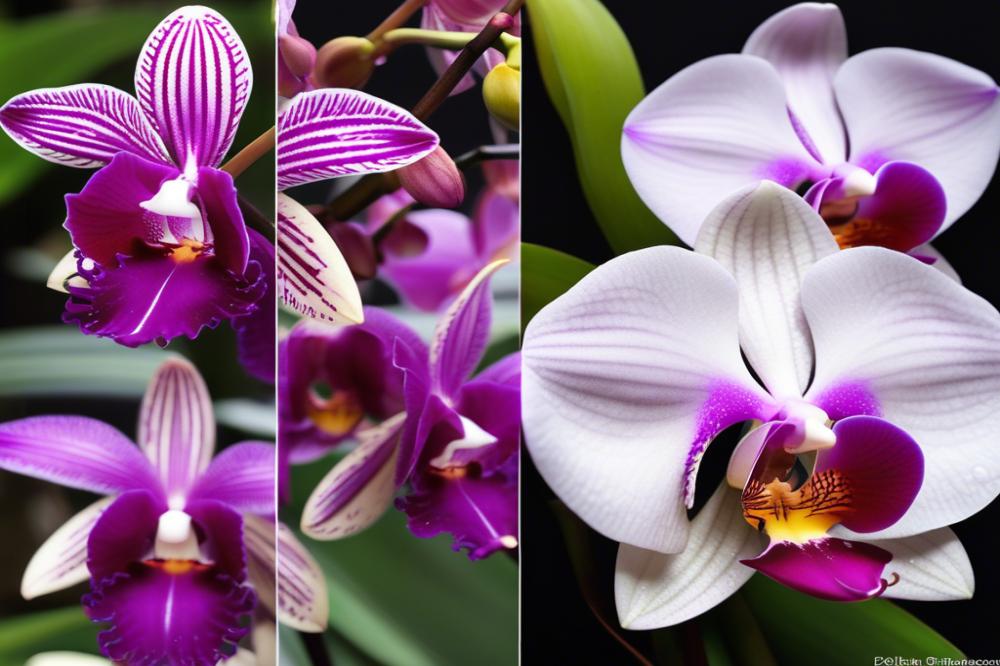

Identifying Keikis on Orchids and Their Significance
Keikis are small plantlets that grow on the stems of mature orchids, typically found on Phalaenopsis plants. Their appearance indicates that the parent orchid is healthy and thriving. Noticing these tiny plants means you have an excellent opportunity for plant propagation. They carry the genetic traits of the parent plant, making them just as beautiful. Each keiki has the potential to become a new orchid, promoting diversity in your indoor gardening collection.
Step-by-Step Process for Separating and Planting Keikis
Begin by assessing the size of the keiki. It should have a minimum of two to three roots before you proceed. Choose a time when the parent orchid is not in bloom to keep both plants healthy. Using clean scissors or pruning shears, carefully cut the keiki from the stem. Make sure to include some roots to give it the best chance of survival.
Next, prepare a suitable orchid medium for planting. Use a mixture designed for orchids, which will provide good air circulation and drainage. Fill a small pot with the medium and create a small hole. Place the keiki into this hole, ensuring that the roots are well covered. Water gently after planting to settle the medium around the roots. Position the pot in a location with bright, indirect light to promote growth. Monitor the plant’s progress closely for the first few weeks. This attention will support its development.
Importance of Orchid Roots in Keiki Propagation
Healthy orchid roots play a crucial role in the success of keiki propagation. These roots absorb water and nutrients essential for growth. If the roots are damaged or underdeveloped, the keiki may struggle. When separating, aim to keep the roots intact. Adequate root length ensures your new plant can thrive.
During the first few months, maintain optimal conditions for root growth. Keep humidity levels high, as orchids prefer moist environments. Proper orchid care also involves gentle watering, allowing the medium to dry slightly between waterings. Ensuring the right humidity and moisture levels will significantly enhance plant health. With patience and attention, you can watch your keiki transform into a magnificent orchid.
Choosing the Right Orchid Medium
When it comes to propagating orchids, selecting a proper orchid medium is crucial. Suitable mediums provide the necessary support while allowing air and moisture to reach the orchid roots. Various materials are available, each offering distinct benefits for plant health.
Overview of Suitable Orchid Mediums for Propagation
Common options for orchid mediums include bark, sphagnum moss, and coconut coir. Bark provides excellent drainage and aeration, making it a favorite for many growers. Sphagnum moss retains moisture better, which aids in hydration but may lead to root rot if not monitored. Coconut coir offers a balance, holding moisture while allowing airflow. Different orchids, such as the Phalaenopsis, may thrive better in specific mediums, so understanding their needs is vital.
Comparison of Different Materials and Their Impact on Plant Health
Materials like bark can dry out quickly, requiring regular checks for moisture levels. In contrast, sphagnum moss can retain too much moisture, promoting fungal issues. One must weigh these aspects carefully. When you choose coconut coir, you enjoy a lightweight option that supports healthy orchid roots without excessive water retention. Each material impacts overall plant health, so think about how the medium influences growth and stability before making a choice.
Tips for Maintaining Optimal Moisture and Aeration in the Medium
Balancing moisture and aeration is essential for successful plant propagation. Check your medium regularly for dryness; sticking your finger into the mix can help gauge moisture. If the medium feels dry, it’s time to water. Conversely, if it appears soggy, allow it to dry out before the next watering session. Adding perlite to the mix can enhance aeration, improving the growing conditions for your orchid, especially when caring for keikis.
By choosing the right orchid medium and monitoring its conditions, you can create an environment that fosters healthy growth. Mastering these basics of orchid care will significantly improve your success with plant propagation.
Caring for Newly Propagated Orchids
Taking care of your new orchids after propagation is crucial for their success. Correctly managing cuttings and keikis sets the stage for strong growth. A few important guidelines can make a big difference in their development.
Guidelines for Post-Propagation Care
First, place your new plants in a shaded location. Intense light can stress cuttings and keikis, leading to damage. After a week, gradually introduce them to brighter areas. This helps mimic their natural environment. Water sparingly during this adjustment period. Too much moisture may lead to root rot, especially in the first weeks.
Importance of Humidity, Light, and Temperature
Humidity plays a big role in growing orchids. Maintain levels around 60-80%. Misting your plants can help, but avoid overhead watering. It’s also vital to provide proper light. Phalaenopsis orchids thrive with indirect, bright light. Positioning them near a window works well. Ideal temperatures range from 65°F to 75°F during the day and slightly cooler at night. Sudden temperature changes can shock fragile roots.
Monitoring Orchid Health
Regularly check the health of your new orchids. Look for signs of pests like aphids or spider mites. Regular inspections make it easier to catch issues early. Healthy orchid roots should be firm and green, while unhealthy ones may appear mushy or dark. Feed your sensitive plants a diluted orchid fertilizer every few weeks to promote growth.
Pay attention to common issues that may arise. Yellowing leaves can indicate too much water or insufficient light. Take action promptly. Adjust your watering schedule or relocate your plant if necessary. Proper orchid care involves continued observation and adjustment.
In summary, keeping your cuttings and keikis healthy requires thoughtful attention. Focus on humidity, light, and temperature. With the right care, your propagated orchids can thrive and bloom beautifully.
Wrapping Up Your Orchid Propagation Journey
Let’s recap the key points discussed in this article. Propagating orchids through cuttings and keikis is both an art and a science. You’ve learned that using keikis, which are baby plants that grow on the mother orchid, can provide a straightforward way to expand your collection. Cutting sections of the stem can also yield new plants, but it requires more precise care. Remember, successful propagation hinges on careful attention to water, light, and temperature.
Now, don’t be intimidated by the process! Starting your journey in propagation can be incredibly rewarding. Each successful plant is a testament to your skill and patience. Watching an orchid flourish under your care can bring joy to any plant enthusiast. Simply follow the guidelines provided, be patient, and your efforts will pay off.
Engaging in orchid care is a fulfilling hobby that brings beauty into your life and home. Whether you’re multiplying keikis or experimenting with cuttings, each step is a chance to learn and grow. So gather your supplies, find a healthy orchid, and dive into the wonderful world of propagation. The joy of nurturing these stunning plants is unmatched.
With time and practice, your collection will flourish. Welcome the challenge and enjoy the journey. Who knows? You may just discover your green thumb along the way.

